
Fitting a Mini Heki Skylight to a Hymer Motorhome (or how not to!)
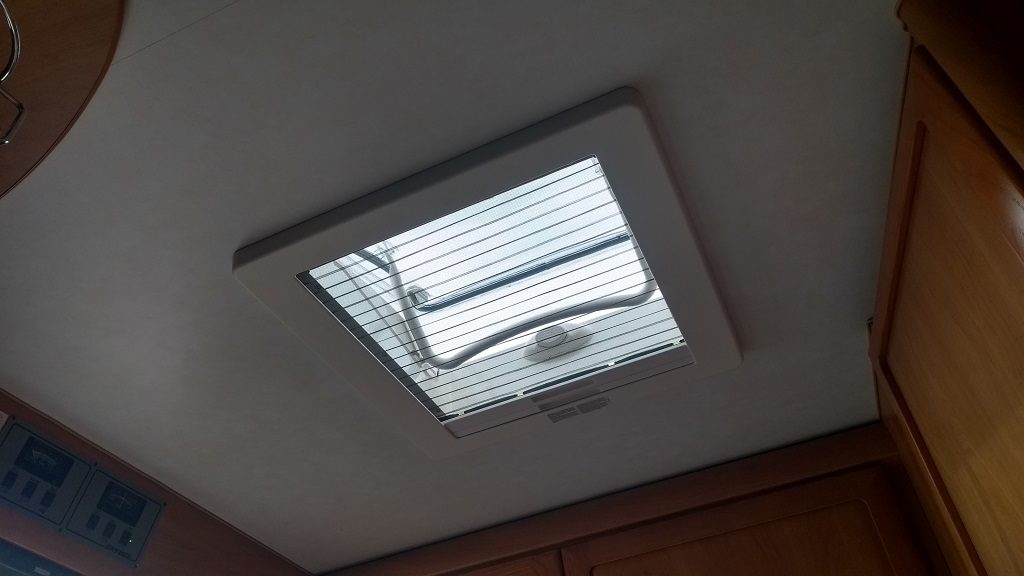
We’ve been hanging our noses over a new Mini Heki skylight (rooflight) for Zagan, our 2001 Hymer B544 motorhome, for months. The standard skylight in the kitchen area was the candidate to be replaced, as it only lifts up a few centimetres by design and is opaque so it doesn’t let in much light. On our wanderings we’d seen these new style Heki skylights bright and wide open, and during the heat of summer had fancied the additional breeze wafting about our wagon’s cooking space.
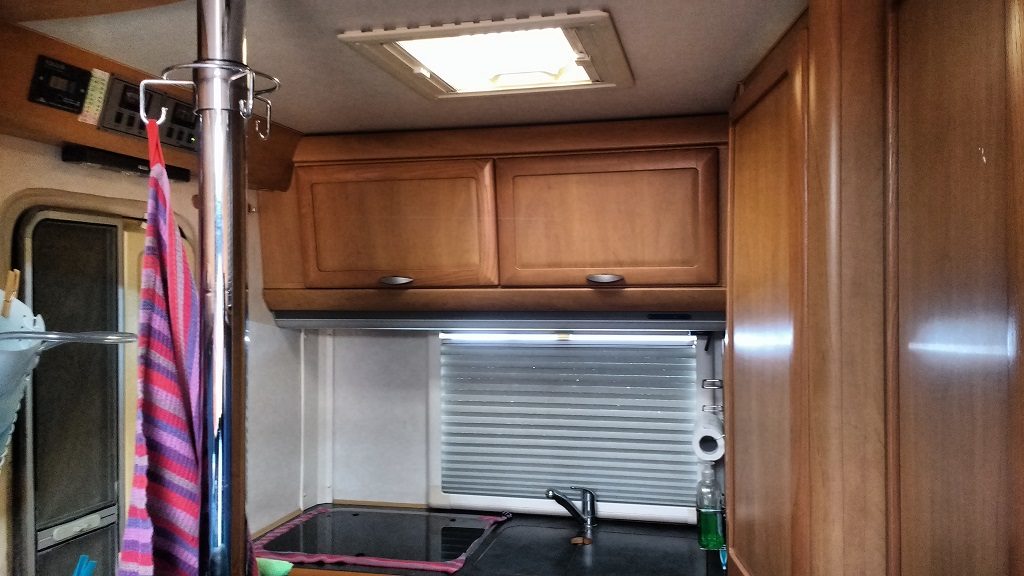
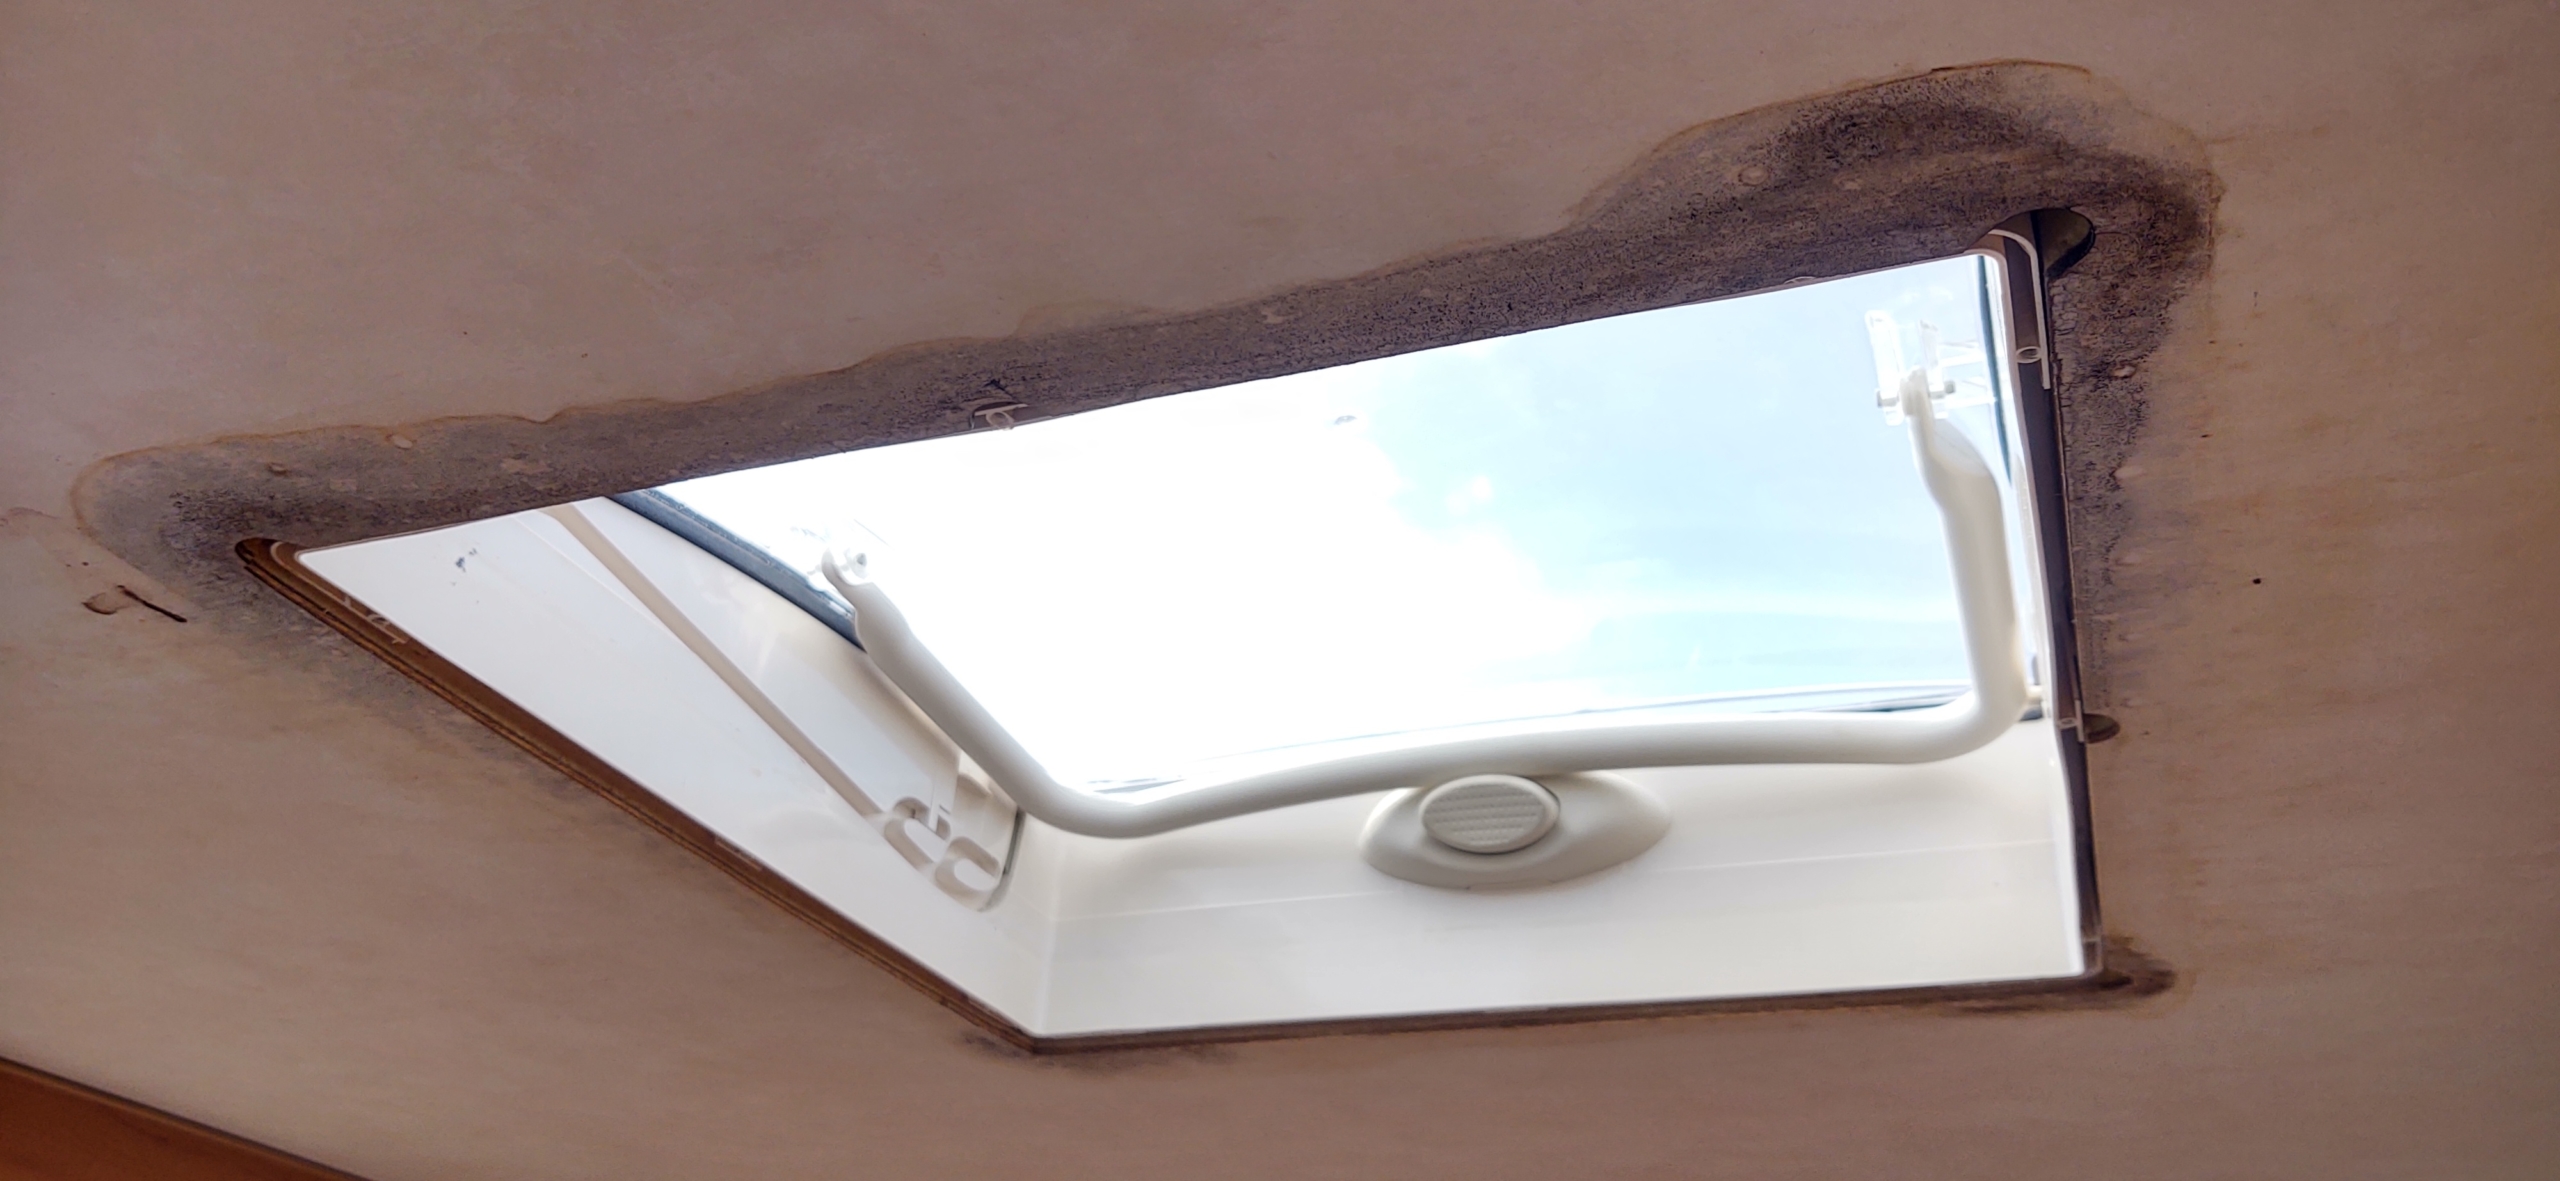
The standard skylight on our Hymer B544. It works fine, but lets in little air and light.
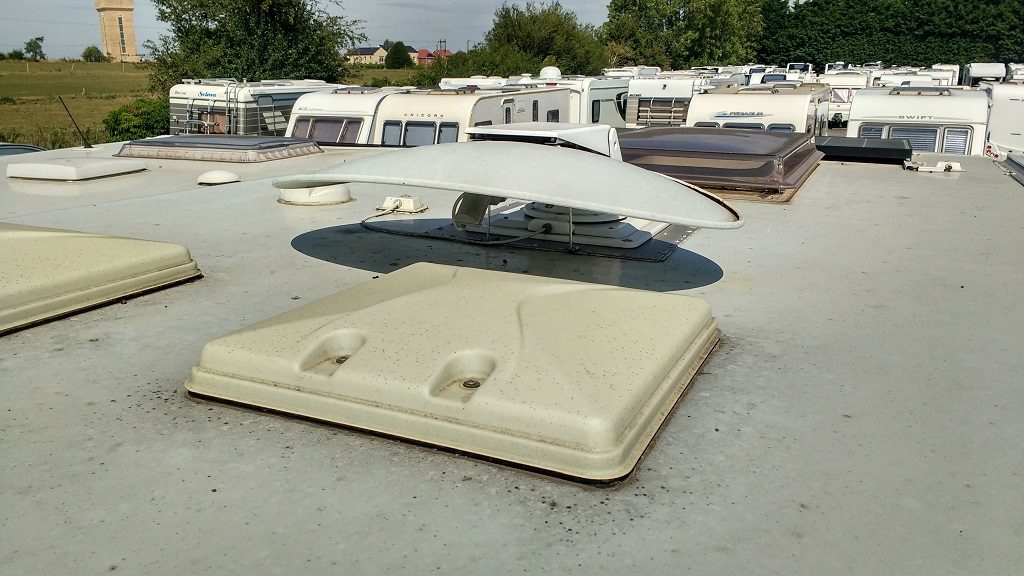
The top of the standard skylight – close to the satellite dish as it happens…
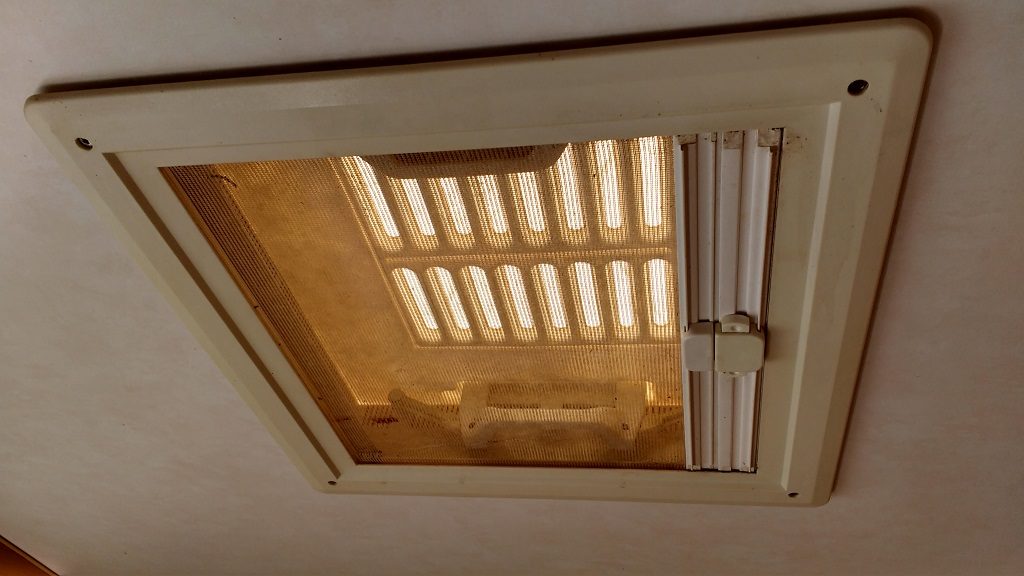
The dark underside of the standard skylight (with the flyscreen in place).
So, when we met up with a mate doing a self-build panel van conversion, who happened to have a spare Heki Mini, we were propelled into action. A quick bit of research revealed there are four variants of this particular skylight (all fit an aperture 400mm by 400mm):
- With permanent (forced) ventilation, and roof thickness 25 to 32mm
- With permanent (forced) ventilation, and roof thickness 43 to 60mm
- Without permanent ventilation, and roof thickness 25 to 32mm
- Without permanent ventilation, and roof thickness 43 to 60mm – this is the one our mate had
The first two, with permanent ventilation, are for caravans. They let air in even when closed, so would whistle during driving which, in turn, would drive us mad. The latter two are for motorhomes. After quickly checking the van’s roof thickness (about 50mm) and the size of the current skylight (400mm by 400mm), we picked up the skylight for the bargain price of £75 (they’re usually about £100 with postage from Amazon).
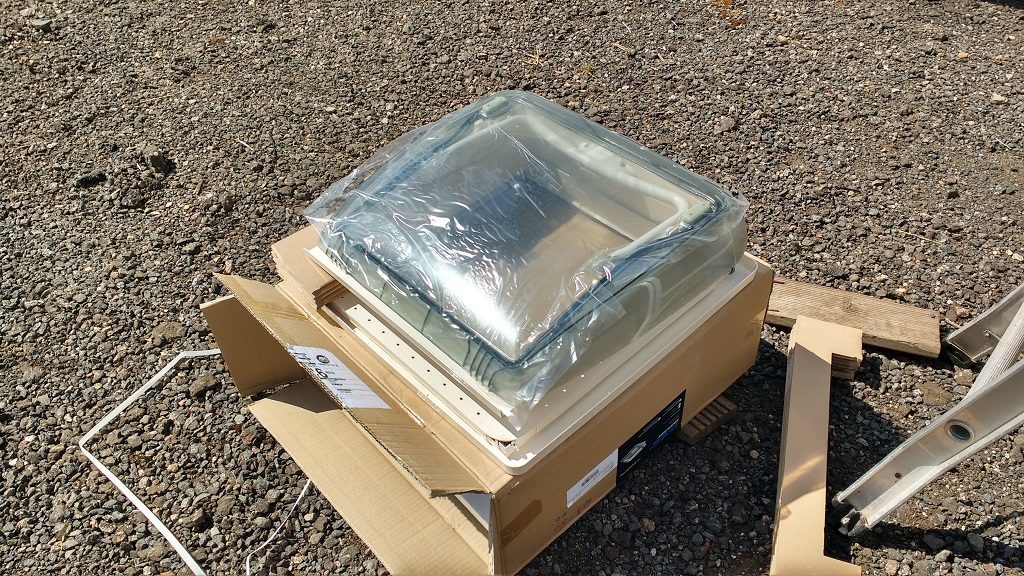
The Seitz Heki Mini Skylight Unpacked
At this point I should note we (I) cocked up, resulting in some ‘fun’ during fitting, as the skylight didn’t, erm, fit. Measuring the roof and the aperture size with the existing skylight in place was a bad, bad idea. I really should have done more research, as the roof thickness is actually 30mm, which meant I’d got the wrong variant of the Heki, whoops. What I couldn’t have known though, or at least probably wouldn’t have discovered unless I’d really looked, is that the standard skylight opening is actually 390mm by 390mm, with small semi-circular cuts made to accommodate the 400mm-wide fittings. So we had a skylight which was both too deep and too wide…
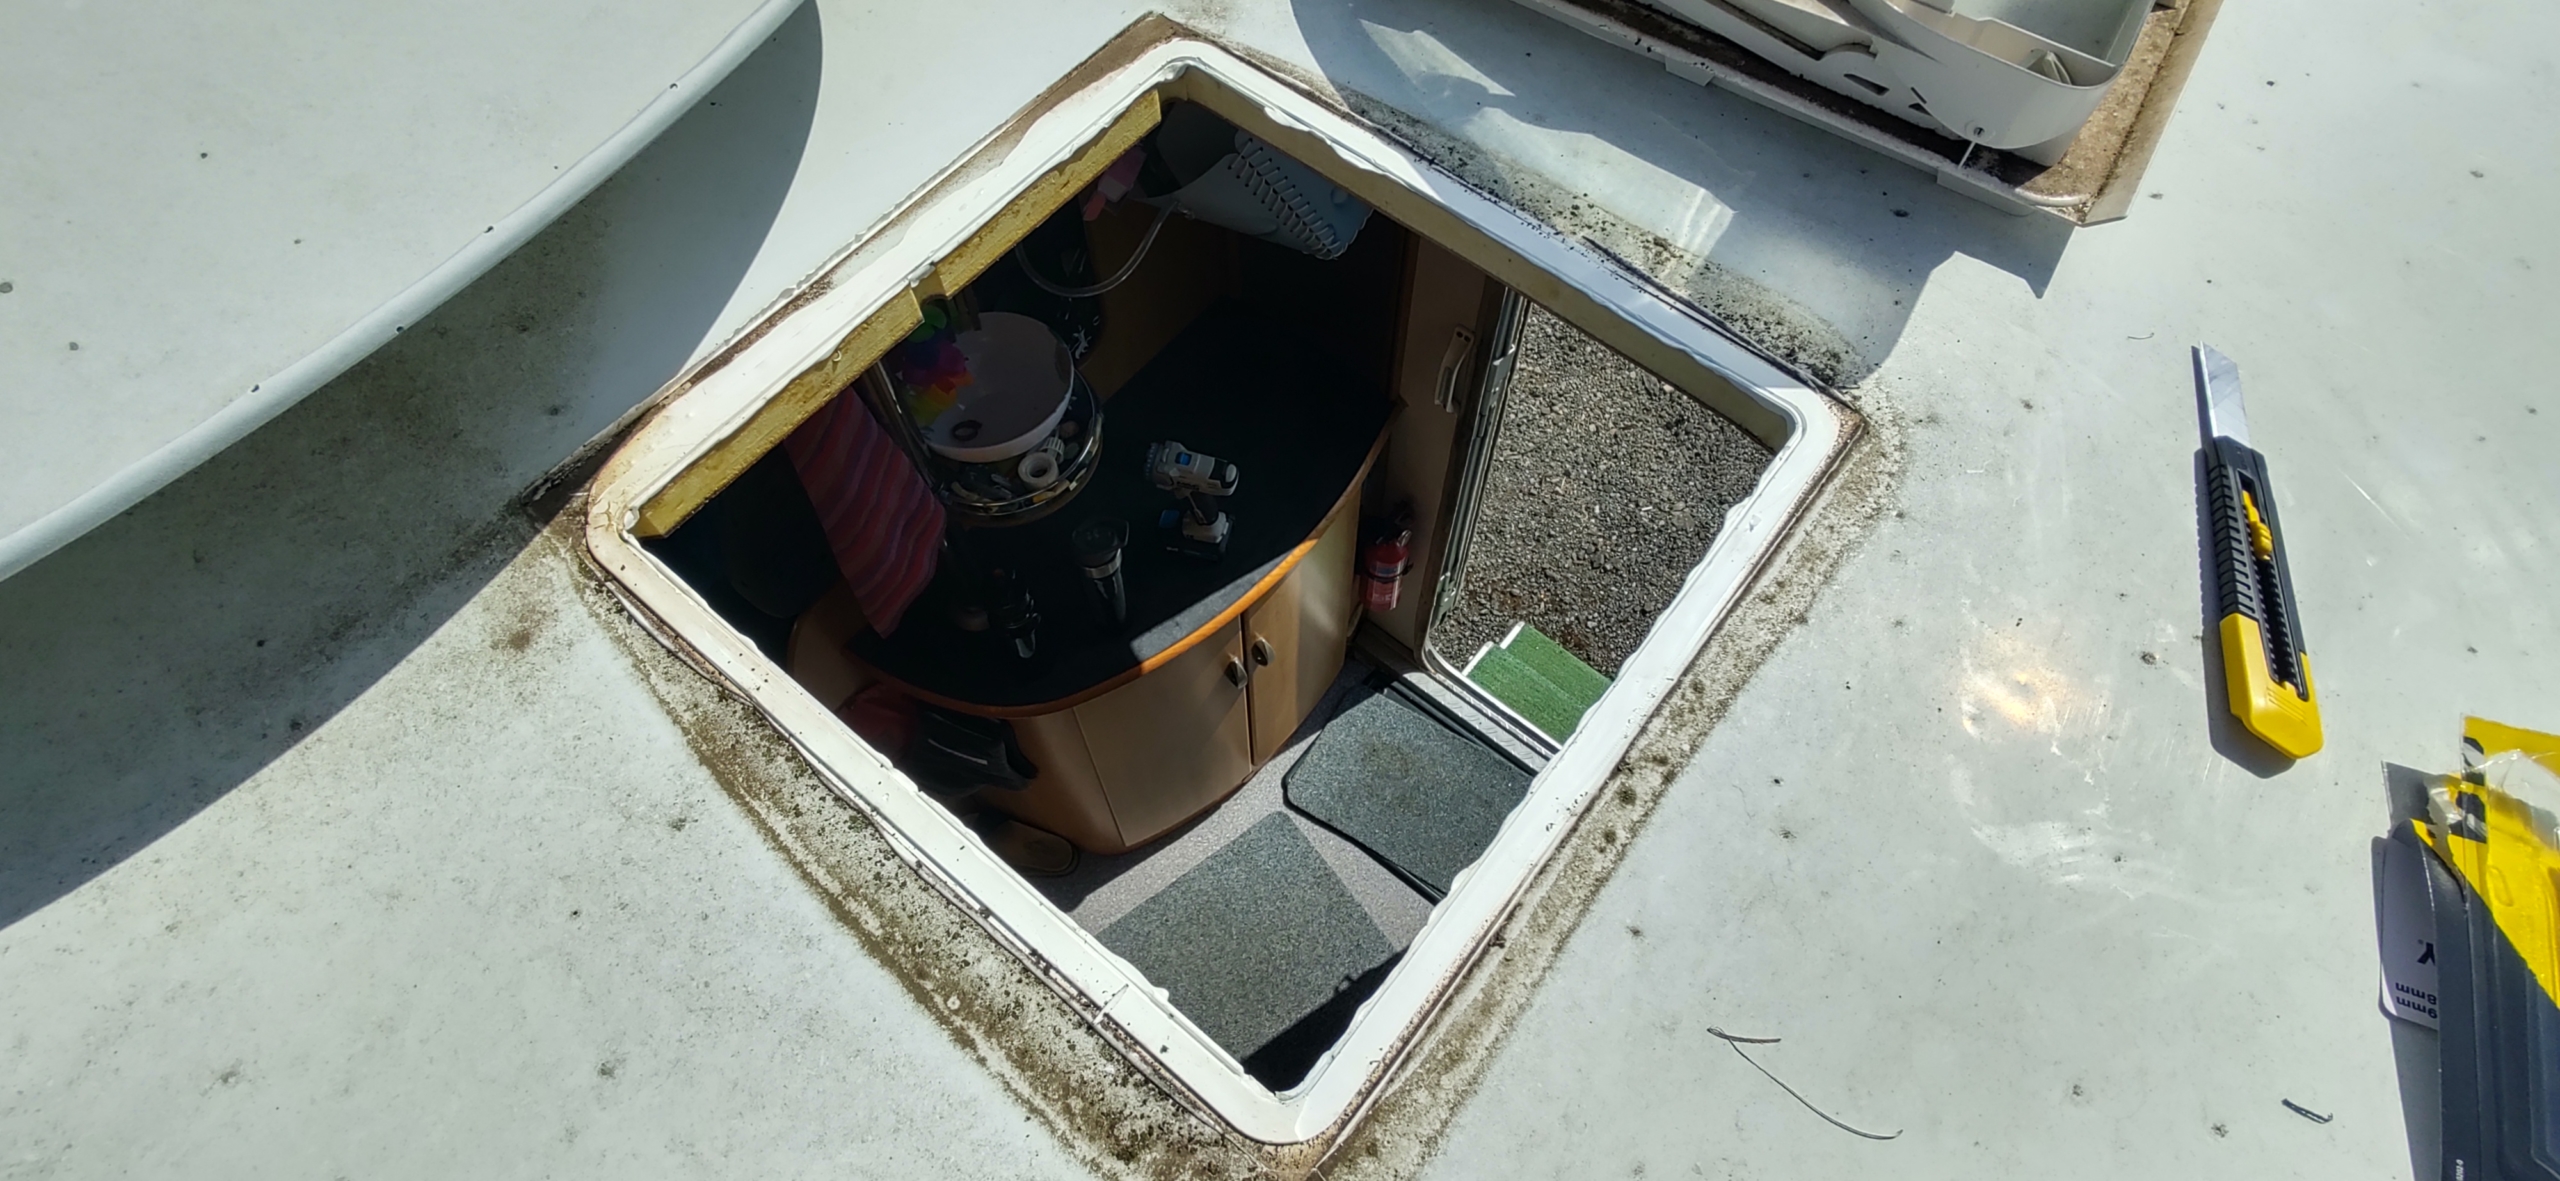
Lifting off the old skylight housing
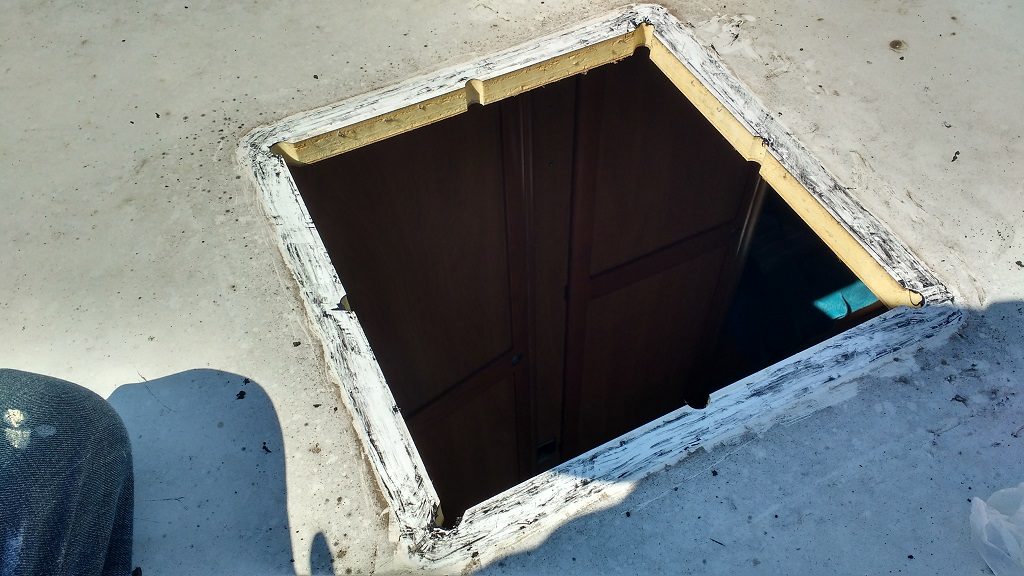
The existing aperture before cleaning up all the existing mastic.
And it’s 39cm across, so the Heki doesn’t fit.
From a previous job fitting a solar panel to Dave, our old Hymer B544, I already knew about Sikaflex, one of the ‘standard’ makes of adhesives folks use to stick stuff to the roofs of motorhomes and caravans. Checking some self-build videos, I got a tube of Sikaflex 221 (again available on Amazon), which glues the skylight to the roof, creating an elastic seal to keep water out. I was also aware of the fact Sikaflex is horrible stuff to work with if you get it anywhere it shouldn’t be (and best not breathed in or got on skin), so was careful to wear gloves and not let it get on stuff (other than Ju’s shorts, which had to be binned).
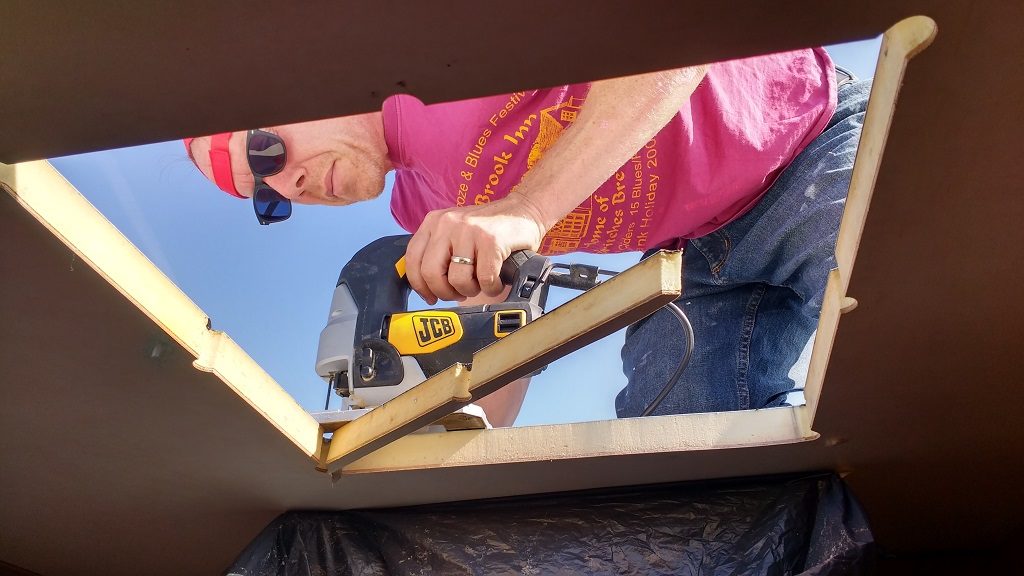
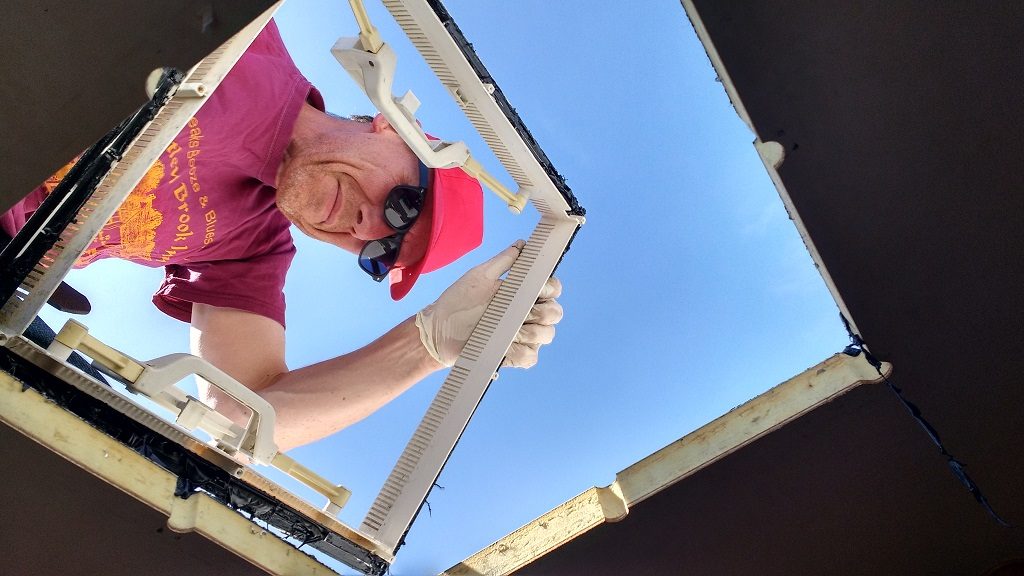
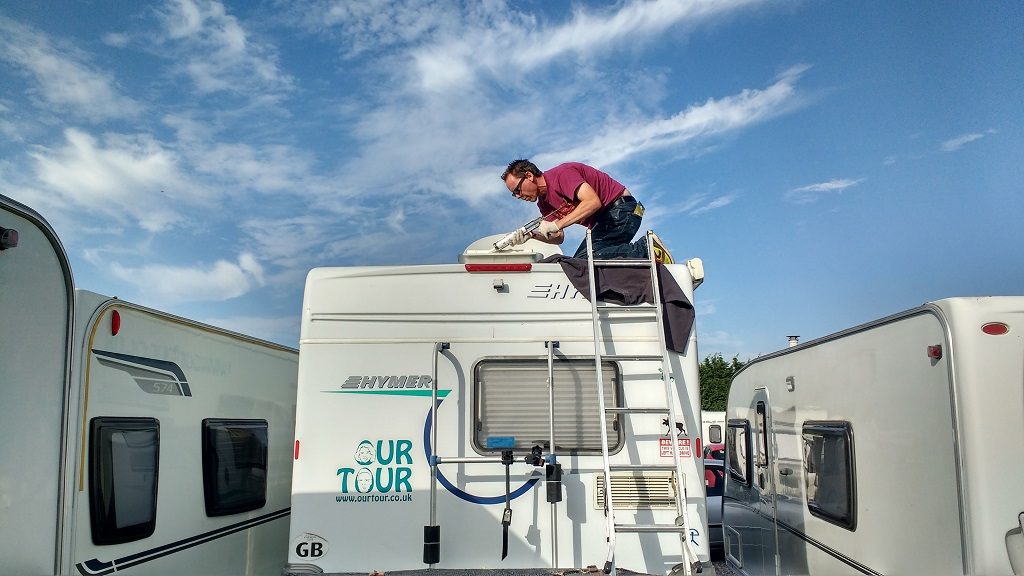
Daftly choosing a timeslot starting about 2pm, the hottest part of a hot sunny day, I removed the underside of the old skylight, then got up on the roof and used flexible knives to cut under the adhesive for the existing skylight. After going around all sides a couple of times, the top part could be lifted away (shown above). Another 30 minutes with blades, cloths and fine sandpaper removed the rest of the sealant and keyed the surface ready for new adhesive. At this point we realised the hole was too small, shook fists at the sky, borrowed a jigsaw from a friend and a power supply from a friendly bloke at the storage yard and, gulping a bit, cut a 1cm piece of roof out from two sides, so the new skylight fit with a spare 1mm or so as per the instructions.
Me looking nervous cutting through the motorhome roof
By this point we’d also realised the roof was only actually 30mm thick. The instructions called for small plastic pillars on the lower section to be trimmed to the correct height (4mm in our case), and when we did this we found all the screws we had were too long. Another trip back home and we cut them all down to the correct size with an angle grinder, easy job but took another hour by the time we’d supped a brew!
IMPORTANT: we only discovered this four years after fitting the skylight, when it leaked. Make sure you use some sandpaper to thoroughly rub all the way around the groove on the underside of the Heki. If you don’t, the mould release left on it from the factory will prevent the Sikaflex from sticking, and you won’t get a seal (see photos at end of post – the upper part of the skylight just lifted off – there was no seal at all). Use a clean bit of cloth to remove any dust left from sanding.
Back at the van, popping a thick bead of Sikaflex along the groove on the underside of the Heki, we made sure we had the lower part of the skylight facing forwards, and dropped it in place. Back underneath we screwed the lower part of the frame in place, placed screws at opposite corners to avoid pushing the sealant out too far on any one side.
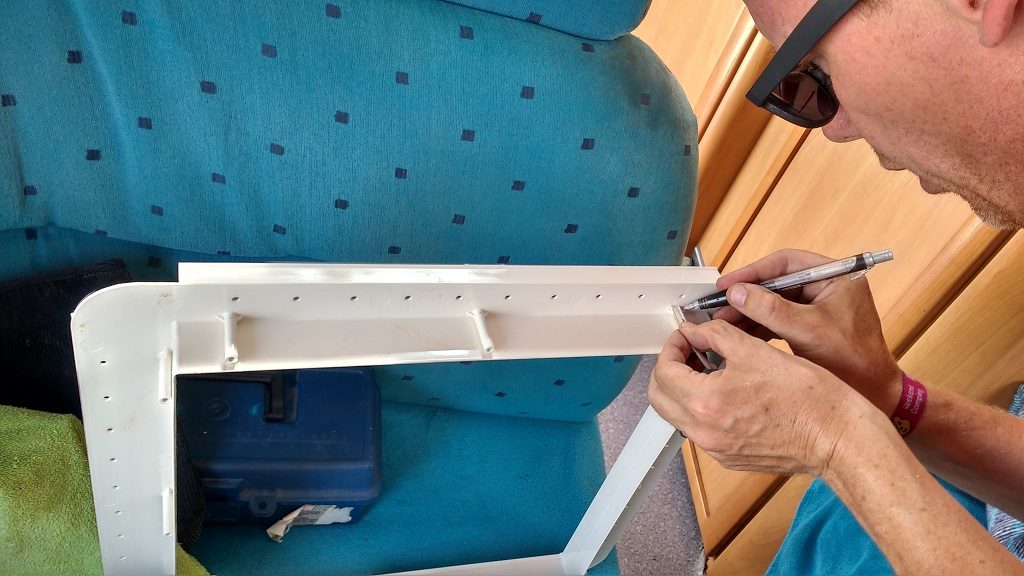
Marking the plastic pillars ready for shortening with a hacksaw
Applying the Sikaflex

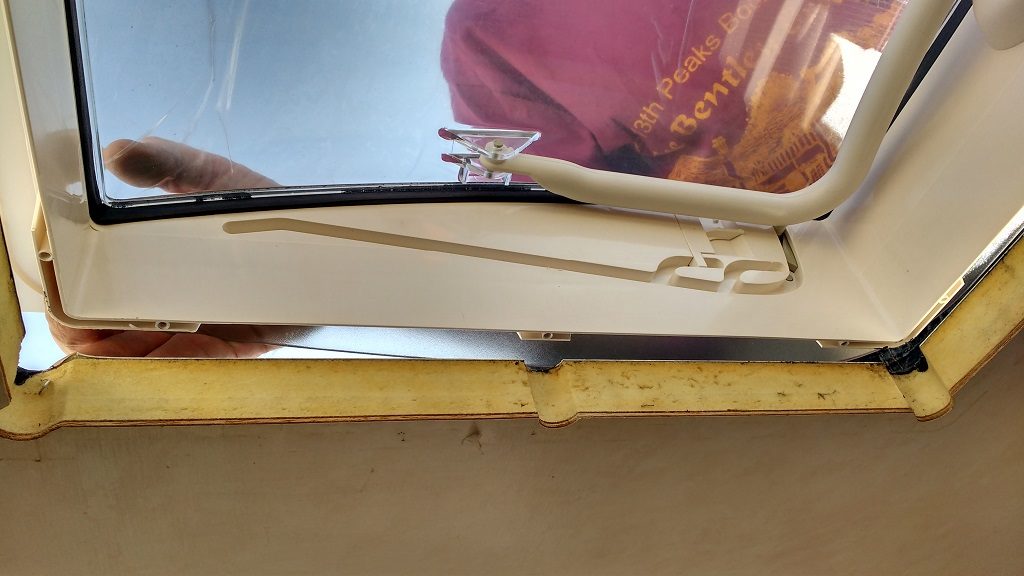
The upper part of the skylight dropped into place, with the hinge at the front

With the lower section screwed on, the skylight couldn’t open
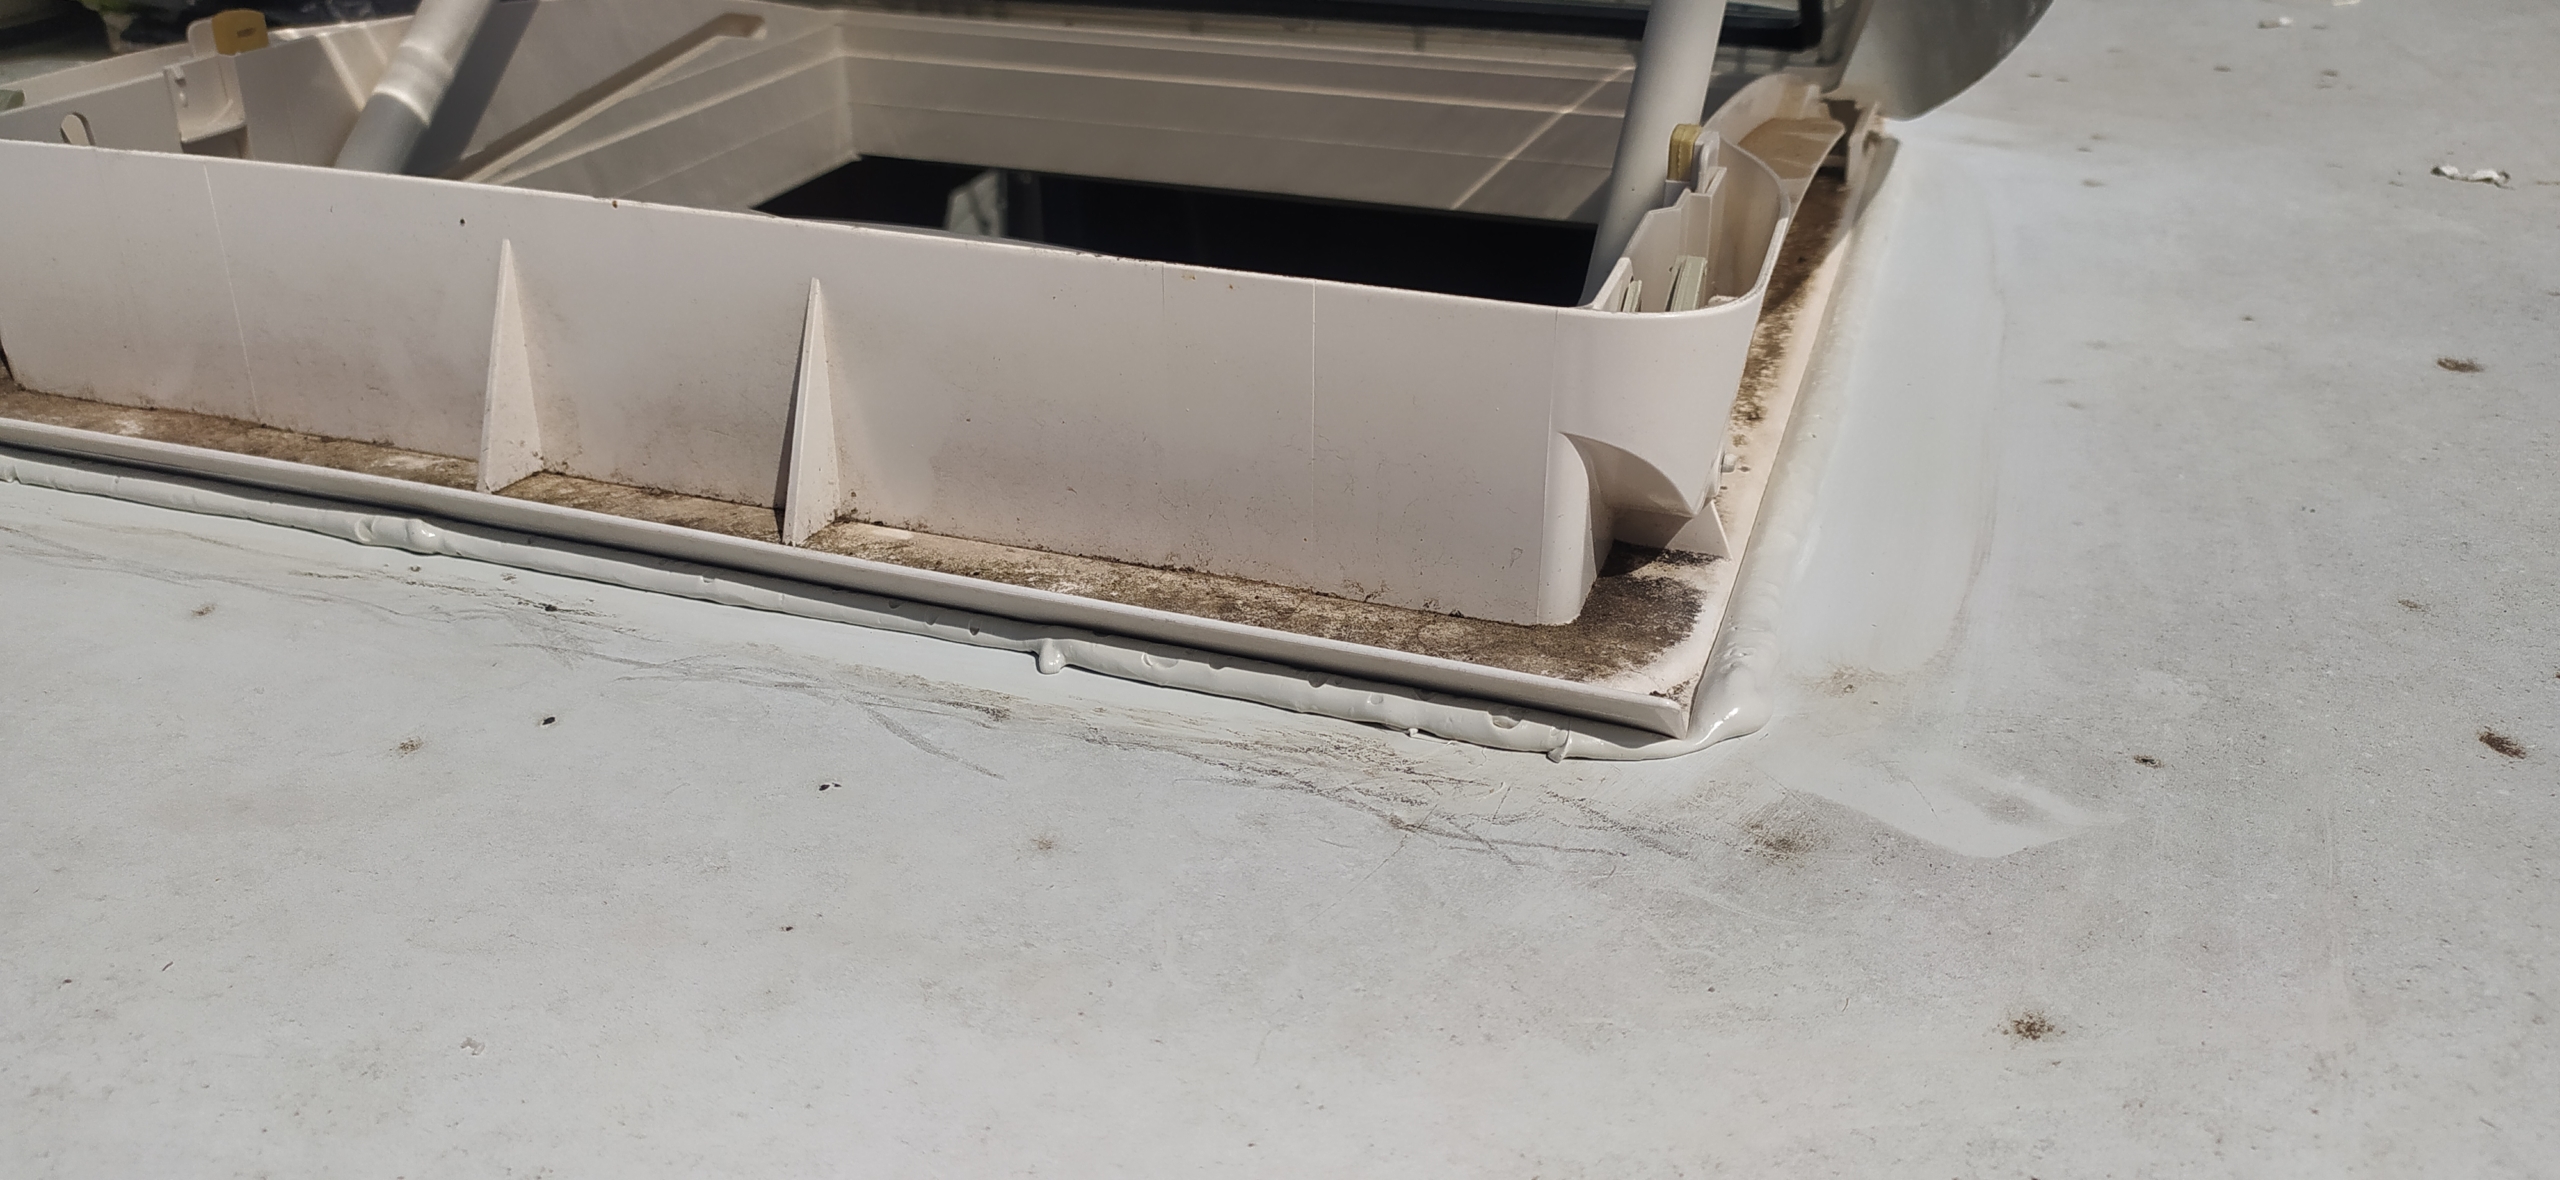
Back on the roof the sealant looked good, just pushed out from the base of the skylight all the way around. At this point though, we realised it couldn’t actually open. Goddammiiitt!!! The lower part was made for a thicker roof, so was covering the grooves the handle needed to run through. A bit fed up, we retreated home for a few days to let the sealant go off. Back up there today, we (I) trimmed a couple of V-shapes from the lower section, refitted it and slotted the flyscreen/sun shield section in place using the little metal clips provided.
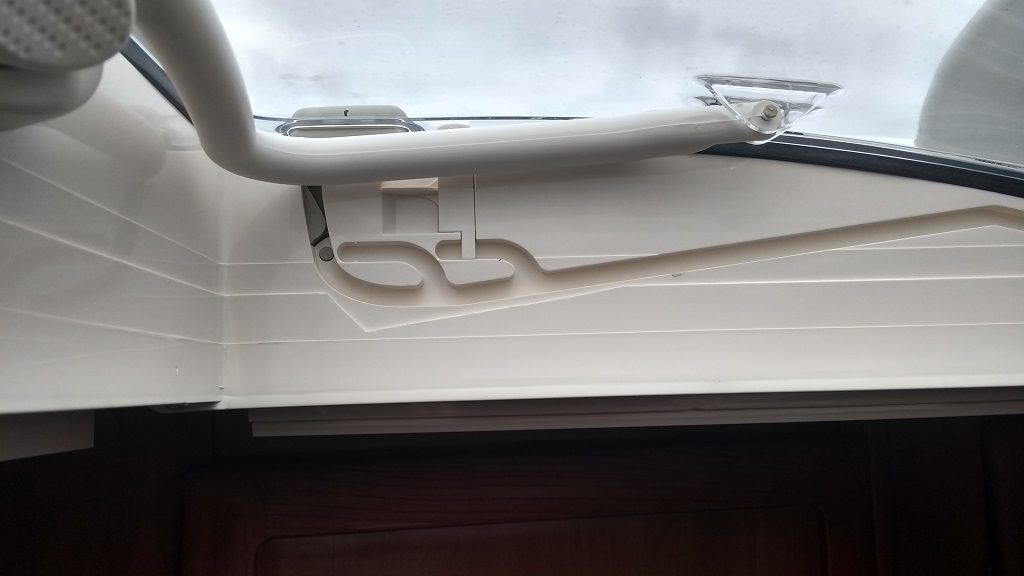
Two v-shaped sections removed a few days after installation lets the skylight open, huzzah!
One final issue: the satellite dish stops the skylight being fully opened. Resolution: put up with it. If we lift the dish a few cm the skylight opens fully, so not a huge issue, and we still have the other two opening settings available to us, one of which has a locking mechanism to stop the skylight flipping open in the wind. The Heki lets in a ton of light compared with the old one, and we’re pleased with the final fitting. Lesson re-learned, once again: measure properly, and do more research!
The final result – the Heki Mini in place and working. Took MUCH longer than expected, but only because I cocked up! All in all, well worth the effort.
Cheers, Jay
Update August 2022: after discovering a leak in the skylight we’ve had to remove and reseal it. After taking off the underside trim and the screws on the underside, I got on the roof and found that the upper part just lifted away. The Sikaflex hadn’t stuck at all, most likely because I forgot to rough up the area it was supposed to seal to, and mould release from the factory prevented it from adhering.
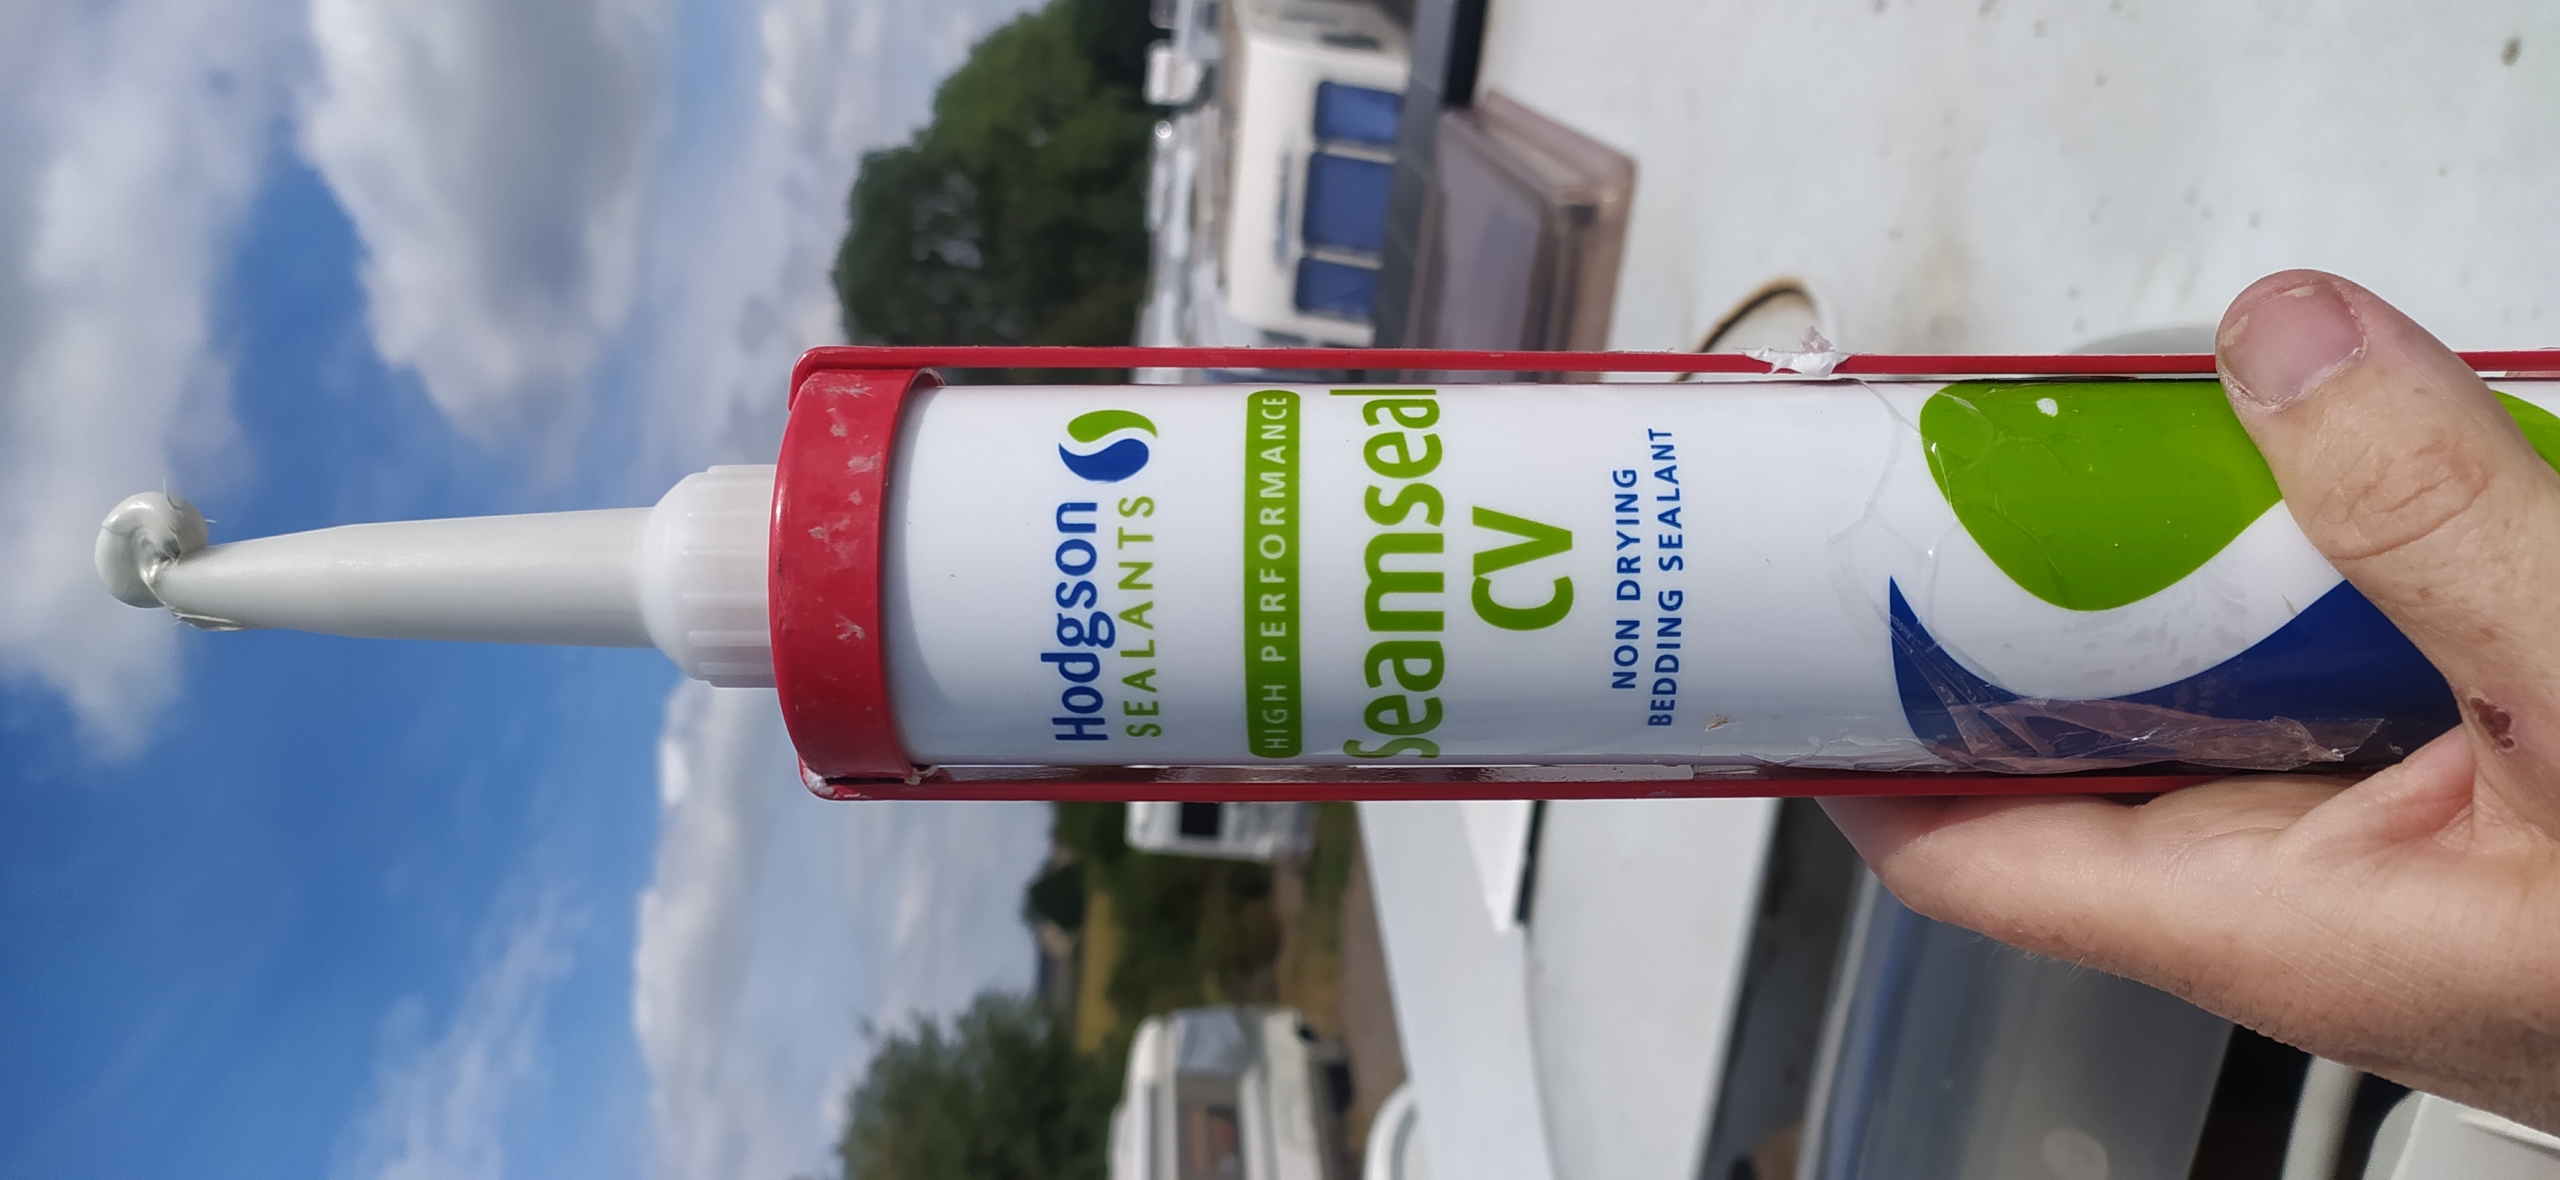
After cutting away the old Sikaflex and thoroughly roughing up/cleaning the roof and underside of the Heki, I used a non-setting Seamseal CV sealant, as we’ve had good results with this stuff when we had to reseal our main skylight.


That’s real motorhome life well done. Like all DIY it’s down to accurate measurements the right tools and then when you realise that you don’t have either. Persistence 😊 you are an inspiration to us all.
Great work, sorting out the initial error!! Well done. We loved our mini so much we installed a second one at the front above the drop down bed…a view of the stars in bed (not to mention a much needed breeze on hot nights! ;-)
can you tell me the depth of your roof
About 30mm Mark.
Hi. Did you fit the skylight over your drop down bed centrally, or over where your heads are? I’m wondering if there’s any structure in the roof necessary to avoid.
Well done, we changed our rear roof light in our Hymer last month, luckily I spoke with Browhills who told me what I needed, only took an hour start to finish. Very pleased with myself. Also changed our two leisure batteries now that was a different much longer story.
Worst job ever changing a headlight bulb aaarrr,
Ah, the headlight bulbs! I’m a dab hand at it now and can swap one in a mere two and a half hours of whining, twisting, yelping and swearing! Cheers, Jay
Good job you didn’t get rid of all your angle grinders – didn’t you report having 4 at one stage ?
Oh yes, and they all went! Had to borrow one from a mate.
I may replace Humberto’s skylight. It’s better than your original one (our opens fully and is clear) but I prefer the internal locking bar on the Heiki.
Looks a quality job in the end.
We could do with a new skylight on the old Laika think i’ll take the old one out first after reading this. Cheers
Admire your perseverance Jay. You are an inspiration to all motorhome owners. Love reading your news. Jacqui
Been there done it and am wearing the tea shirt! My father used to say “measure twice and cut once” I think I was approaching 60 before i received the message!!
Richard
Good old sikaflex! I swear our trip should have been sponsored by sikaflex given that’s all that held Bertha together!
The new skylight looks grand
Haha! That’s some strong stuff eh!? Thanks Steve, it got a good test this weekend, lashed it down! Cheers, Jay
Looks much better for letting in light and fresh air!
thanks for this article, I only found it because I was searching for ways to fit a roof light in a Pual Hymer roof and now I am hooked, and I even bought your book well done
Thanks Jon, appreciate the support and the nice comment, cheers, Jay
Epic job there and a big learning curve. I see this was a couple of years ago but recently i lost the dome cover off the standard 400×400 sky light in my bc584. I recognise it from your photos but just wondering would you know is it possible to get a direct replacement dome cover with the c clip handles. Im having a right job trying to source here in Ireland.
Hi Hugh, yep, made a right job of that I did – end result has worked well though. Sorry, I’ve no idea where you can get the original some covers – I think we must have thrown out original one away. You could try Brownhills (https://www.brownhills.co.uk) they just came good for a replacement side window for us. Not cheap but beats it raining inside… Good luck mate, Jay
Hi folks. Trying to fit a new skylight myself to our B544. Do you reckon the semi circle cut outs are to facilitate easy cutting of the roof should future roof lights be larger? Thanks a million for the article.
Thanks Eamonn
I’m not sure but the cut outs looked to me like they allowed the original skylight to fit. I don’t think they were intended to make it easier to increase the size of the aperture, but who knows?
Cheers, best of luck, Jay
Many thanks for your article. I am in the process of researching the replacing of 2 skylights on my S510 and you have drastically improved my chance of success.
Cheers Bruce, best of luck with it. 👍 Make sure you sand the underside of the new skylight before fitting to remove mould release – I didn’t and had to refit it. Whoops. Jay