

Publishing a Book Has Never Been Easier Folks
We’re currently working on self-publishing our fifth book through Amazon’s Kindle Direct Publishing (KDP) system. This post gives a brief overview of how we’ve done it and, should you want to, how you can do it too.
If you’ve a burning desire to publish a book, I’ve good news for you – it’s never been as easy, in all of history, than it is now to get your book out to a worldwide audience. Even if you want to create a printed book (as opposed to only publishing in eBook format), you don’t need to buy an ISBN, pay for a print run, store and sell the books, package or post them. And no, you don’t need to persuade a publisher to accept your book either. Amazon will take care of all of this for you.
Yes, you will need to put in the work to write the book content, and I won’t kid you, it is hard graft. A common question we get when we mention book writing is whether it’s financially worth it. We usually answer by saying this: if you’re going to do it, do it more for the fun than the money. If you happen to hit on a big seller, fantastic, but our experience is we sell a few hundred books, maybe a thousand over time for our most popular ones, and we really couldn’t make anything like a decent living writing books. The level of work involved in book writing is just too high.
Using self-publishing has one big downside: Amazon take a fairly big cut in return for doing all the logistical stuff for you. To make more money, you’d need to use a more traditional print run process, but that involves much more risk, which isn’t something we’re personally interested in.
The Tools We’re Using to Self-Publish a Book Through Amazon
OK, these are the tools we’re currently using to publish The Motorhome Touring Handbook, all of which are free except for Word and Powerpoint, which are part of Microsoft Office:
- An Amazon KDP Account (from kdp.amazon.com) used to publish the book on Amazon’s various world-wide web sites – Amazon.co.uk, Amazon.com and so on.
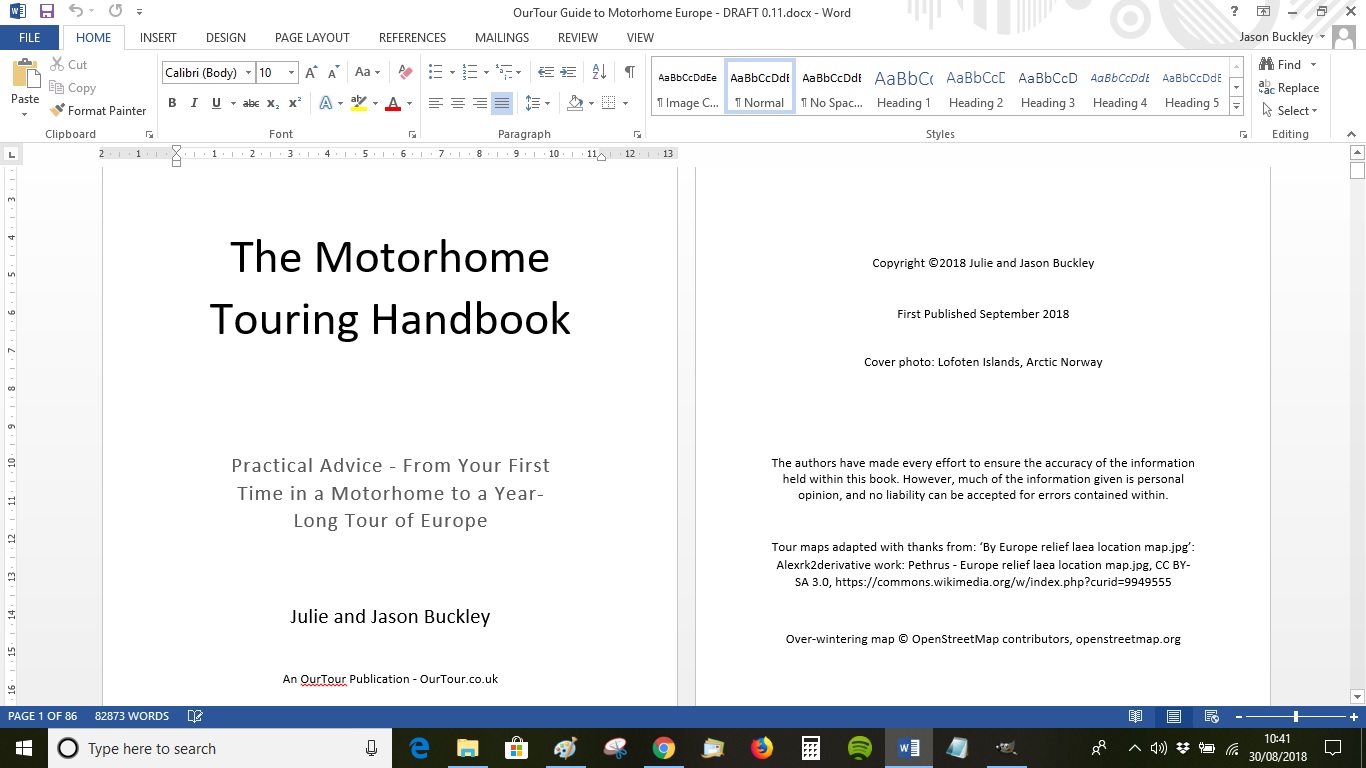
- Microsoft Word (from www.microsoft.com) – we’re using this to write the manuscript which you then upload to KDP.
- Microsoft PowerPoint (from www.microsoft.com) – we’re using this to do some basic graphics editing – overlaying captions on maps and so on.
- GIMP (from www.gimp.org) – while you can create your book cover within KDP (which doesn’t need any special tools), we want more control over the layout so are using this free graphics editor.
- Microsoft Paint (comes with Windows 10) – we’re using this to do basic photo editing – cropping and resizing them for example.
- Amazon’s Kindle create (download from Amazon.com) – used to convert the Word print-format document into a Kindle-compatible manuscript.
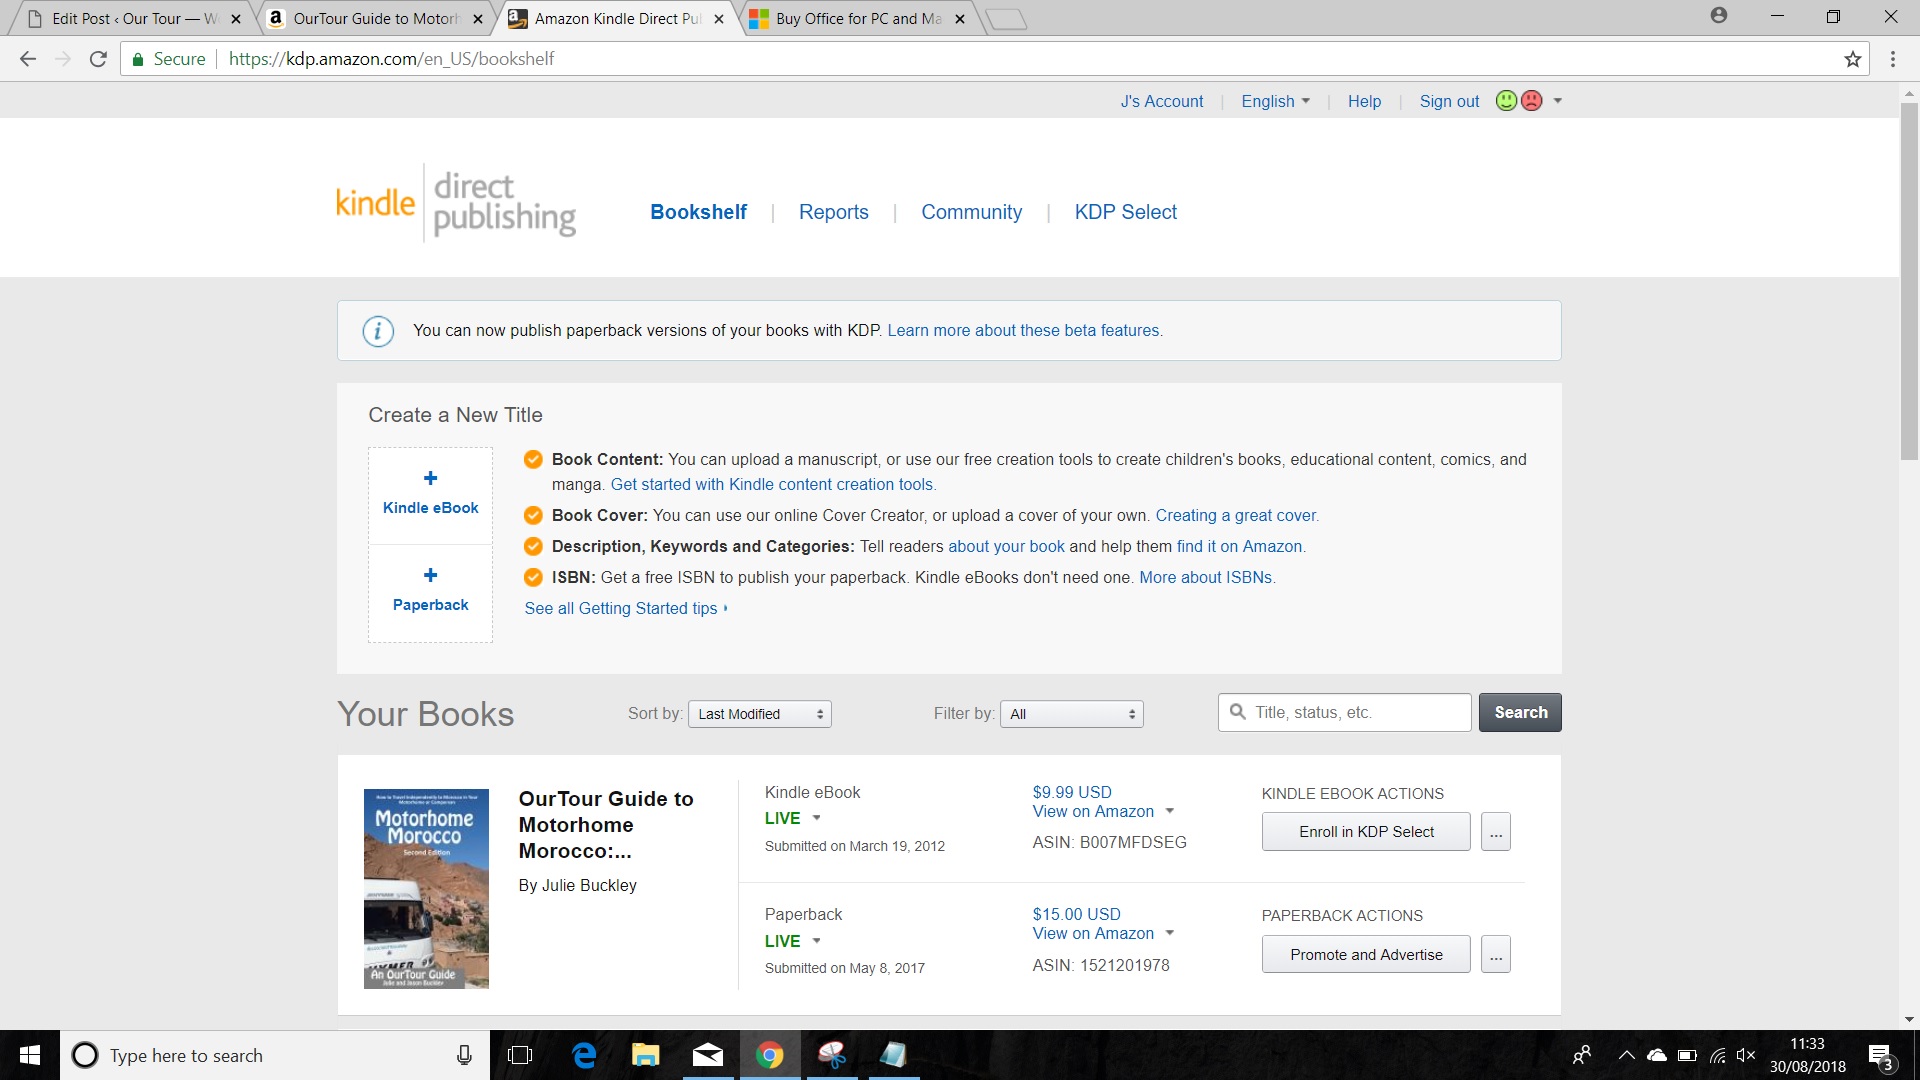
Kindle eBook Publishing
With Amazon KDP, you can publish both Kindle eBooks (which can be read on all sorts of devices, not just Kindles) and printed books. We usually create both formats for each of our books, but you can just publish in one format if you like.
After publishing the paper version, it takes us a few more hours effort to get a book into eBook format. This is what we do to convert the print format Word document to the Kindle format KDP needs:
- As the font size and page size in Kindle readers can vary from person to person, and device to device, references to specific page numbers don’t make sense and need to be converted to hyperlinks or removed. First up, we amend all ‘see section x on page xx’ cross references to ‘see section x’ as a hyperlink, pointing to a Word bookmark which we create for each link.
- Remove the index from the Word document.
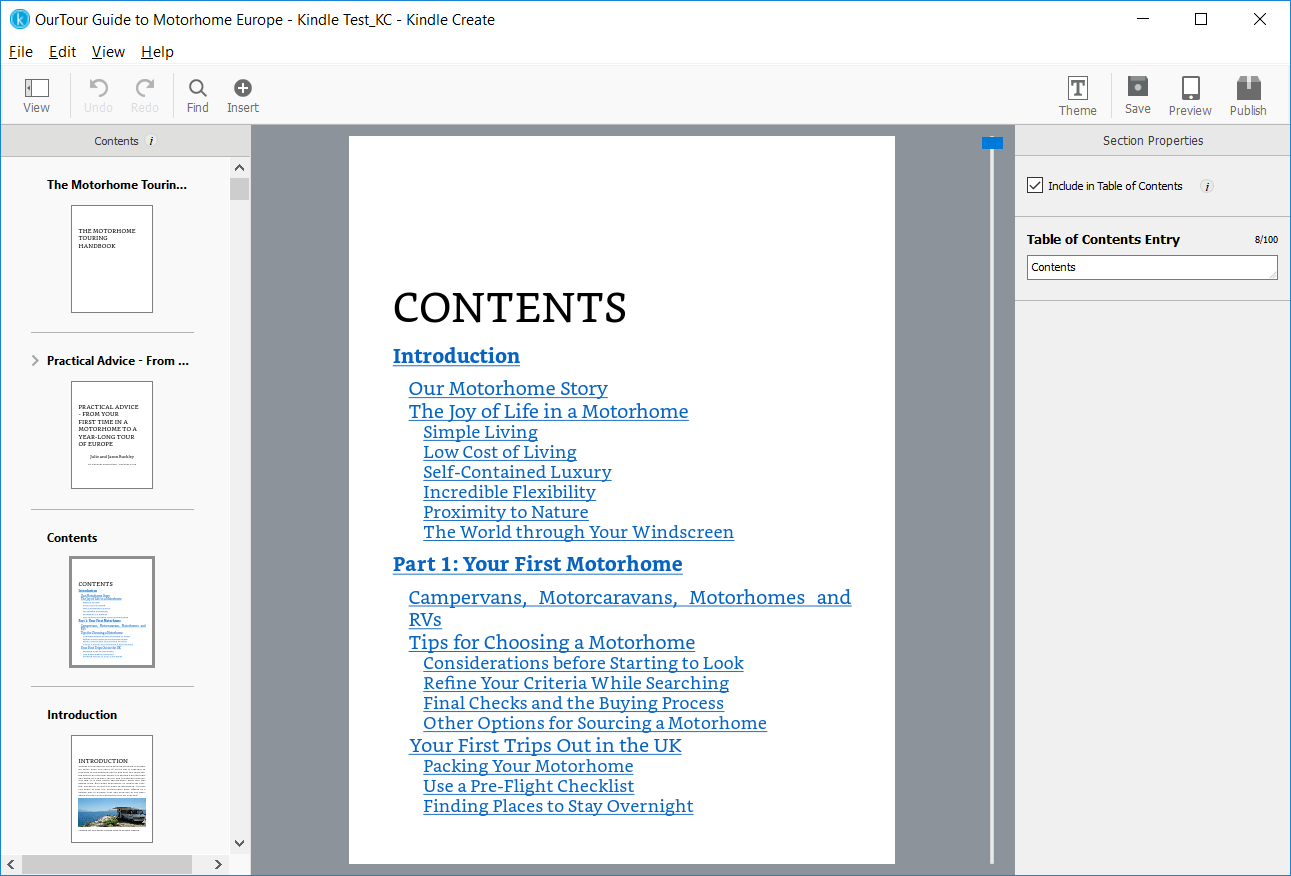
- Create a new project in Kindle Create, and load the Word document into it. This creates a Kindle-compatible table of contents (ToC), and removes the print format ToC.
- Check through the Kindle Create document for layout issues. You can do things like resize most images, or delete and add the images again, but you can’t always edit the text or alter lists and so on. To avoid wasting lots of time, it’s worth avoiding making amends in the Kindle Create project until you’re sure you won’t have to reload the entire Word document again.
- Finallys save the Kindle Create project and upload it into KDP. You’ll also need to create a graphic just for the front cover of the book, and upload that too.
Kindle eBooks generally sell for less than paper copies, and even though there are no print costs, Amazon still charge a fee to send the book out to buyers, which depends on the download size of the book. They also have to charge VAT on Kindle books, unlike print ones. Together these fees can be significant, and we find we generally make less money on eBooks than print ones.
The Book Writing Process
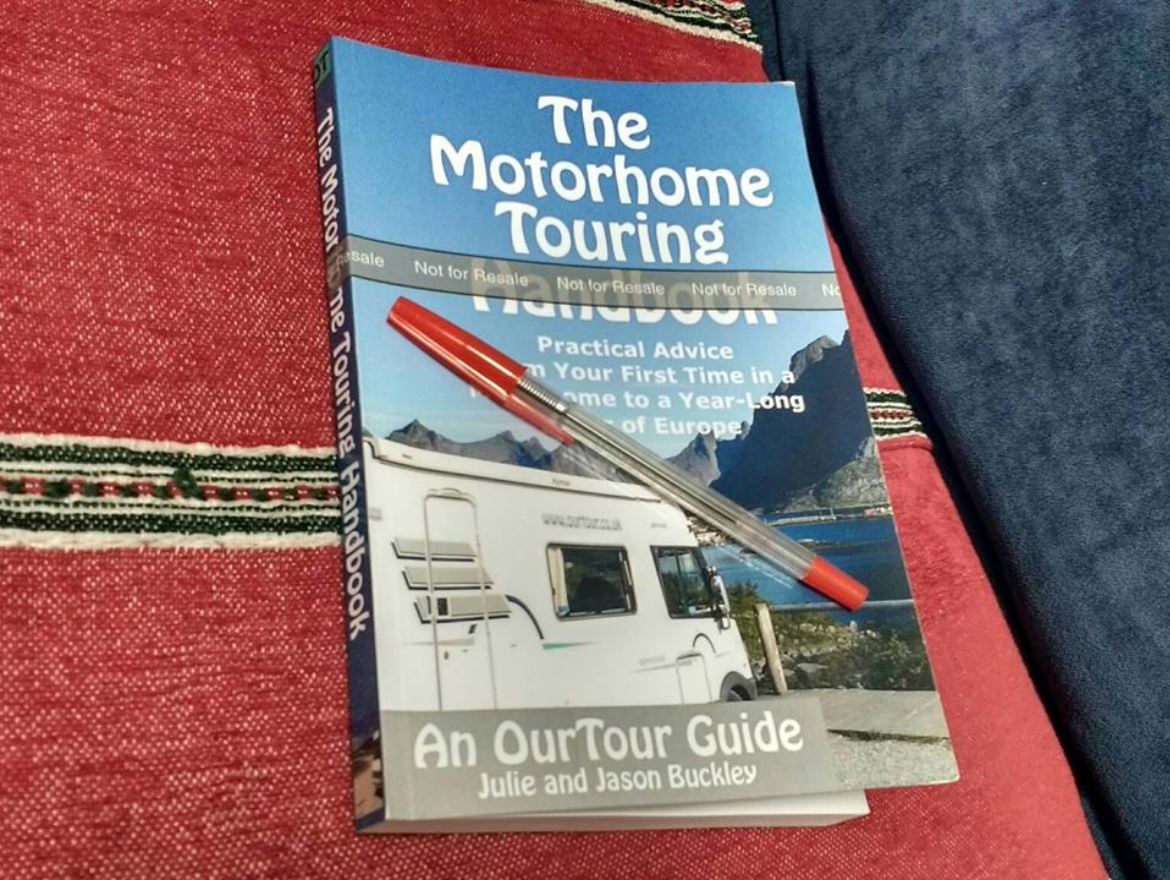
OK, while the process of publishing a book is as easy as it’s ever been, it still takes some effort! By far the hardest part of the process is, of course, writing the book. It’s taken us about 9 months to get this latest book (almost) ready to publish, although it is over 200 pages long, so fairly big. Nope, we weren’t sat there every day for 8 hours, more like 2 or 3 hours a day at most, and for some months we didn’t do anything on the book. The point is unless you sit down and commit to a long piece of work, it can take quite some time to finish the job. This is where our effort will have gone:
- Working out the specific topic we wanted to talk about – this took a few weeks and evolved all the way through the writing and editing process (not ideal – best to work out your specific topic from the start!).
- Looking at the competition and deciding if we could add something new – part of the above point.
- Deciding how to structure the book – this was again an iterative process – we started writing it and changed the structure until it felt right.
- Researching areas where we didn’t have first-hand knowledge – this took a few weeks on-and-off. We used a good range of websites and books for this.
- Working through thousands of photos to choose suitable ones for the book, and editing the ones we chose to use in Microsoft Paint, this took about a week.
- Drafting the manuscript – this took a few months of on-and-off effort. We did this in Word, finally saving as a PDF ready for upload.
- Editing the manuscript – this took about 2 or 3 weeks.
- Creating a cover image – took maybe 3 days.
- Uploading a draft manuscript and cover to KDP and buying an author proof print copy – takes a few hours to upload (which we did several times), and then a week or so for the review copy to arrive which is sold at print cost price plus delivery.
- Proof reading and copy editing the printed copy – currently underway – this will take a few weeks for both of us.
- Editing the manuscript and cover again, and re-proofing them – probably 2 or 3 days.
- Uploading them to KDP again and publishing it – another day or two.
- Promoting the book through this blog, sending news briefs to magazines and websites, perhaps running a competition for free copies and so on. This will be a few weeks effort over time.
Using Word for Manuscript Writing
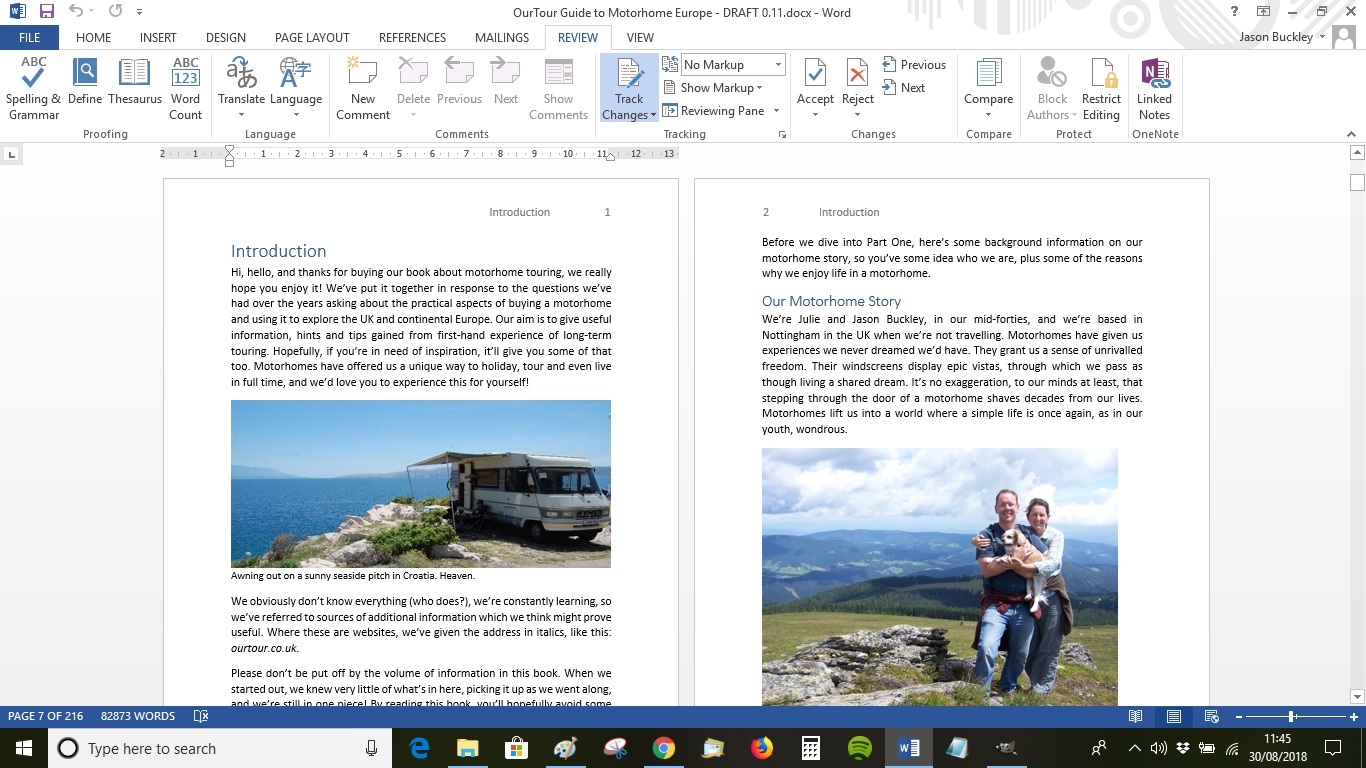
To upload a book to KDP ready for publishing, it needs to be in Adobe PDF format. You can use any editing tool you like to create the PDF, but we’ve opted to use Microsoft Word, mainly as we already have a copy of Office 2016, and we know how to use it. Creating a PDF from Word 2016 is just a case of choosing ‘Save as PDF’.
Here are some tips from our experience of using Word for KDP book writing:
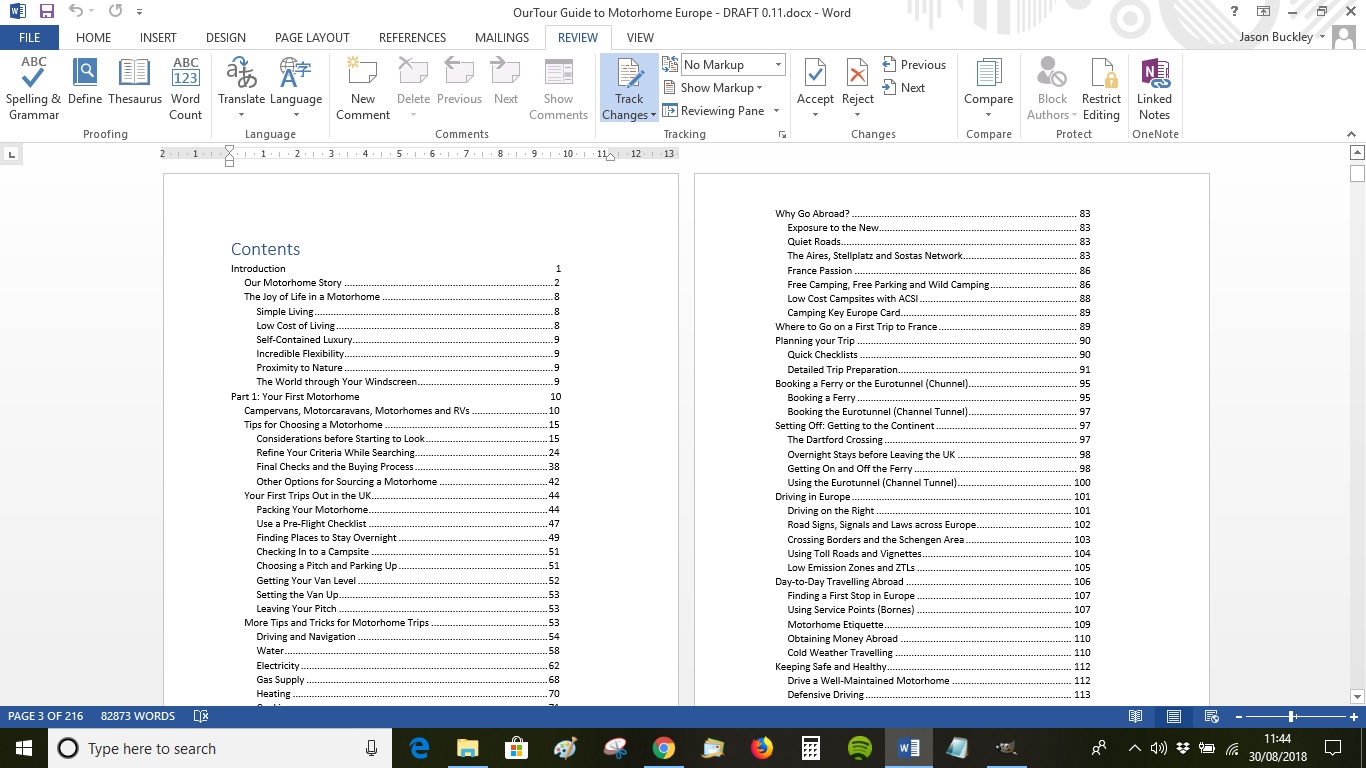
- We use Word’s built-in styles for headings (Heading 1, Heading 2, and so on) then we can automatically build the table of contents, massively simplifying this part of the book.
- The same goes for the index if you choose to use one – you can pop in index references throughout the book which quickly builds the index at the back for you.
- Check in KDP for the print page sizes available, choose one, then set your page sizes to be the same in Word.
- Grab some books from around you and look at things like copyright statements, where page numbers are positioned, how the table of contents is formatted, how the text in a paragraph flows between pages and so on. This will give some ideas on how you might want your book to look.
- If you choose to publish your book in colour, Amazon makes every page colour, not just a chosen few. This significantly increases the print cost, so we make ours greyscale to avoid the book being too expensive to buy. However, we find we can pop colour photos in the books and Amazon takes care of changing them to greyscale. We use author proof copies to check the photos look OK in the final book.
- Remember to update your table of contents, index and any ‘see xxxxx on page xxx’ cross references (press Ctrl-A to select the whole book, then press Shift F9 to update the field). This will update all the page numbers to be correct.
- If more than one of you is creating the content, use Word’s review tools so you can see the changes each of you have made.
- Use revision numbers in the Word filename, so you know you’re working on the latest version.
- We use the KDP ‘No Bleed’ option, and avoid placing images or text at the very edge of the pages. Each page has a margin around it instead, like in most print books.
- Check the PDF very carefully after creating it, not just for spelling or grammatical errors, but for layout issues, page numbers in the table of contents and index being wrong, image captions being incorrect and so on.
Copy Editing and Proof Reading
Ideally all of us ‘independent publishers’ would hire professional copy editors and proof readers to get the best possible result:
- Copy editors work to ensure the book has a logical flow to it, is precise, fit for purpose, not repetitive and accurate.
- Proof readers check the book for spelling and grammatical errors. They might also look for consistency in the way a book’s been formatted (all website addresses being in italics, for example).
However, these professionals are unsurprisingly expensive to use. Unless you can sell thousands of books, by paying hundreds of pounds out for editing and proof reading you can easily see any profit dwindling to nothing/losing money. The other option is to get a friend to do it, but it’s no small job and feels wrong to be asking mates to ‘work’ for hours or days for you for free/small change. Our approach as a couple has been to proof and copy edit each other’s work, and to accept that we won’t be 100% perfect, but we will still get a good product out there.
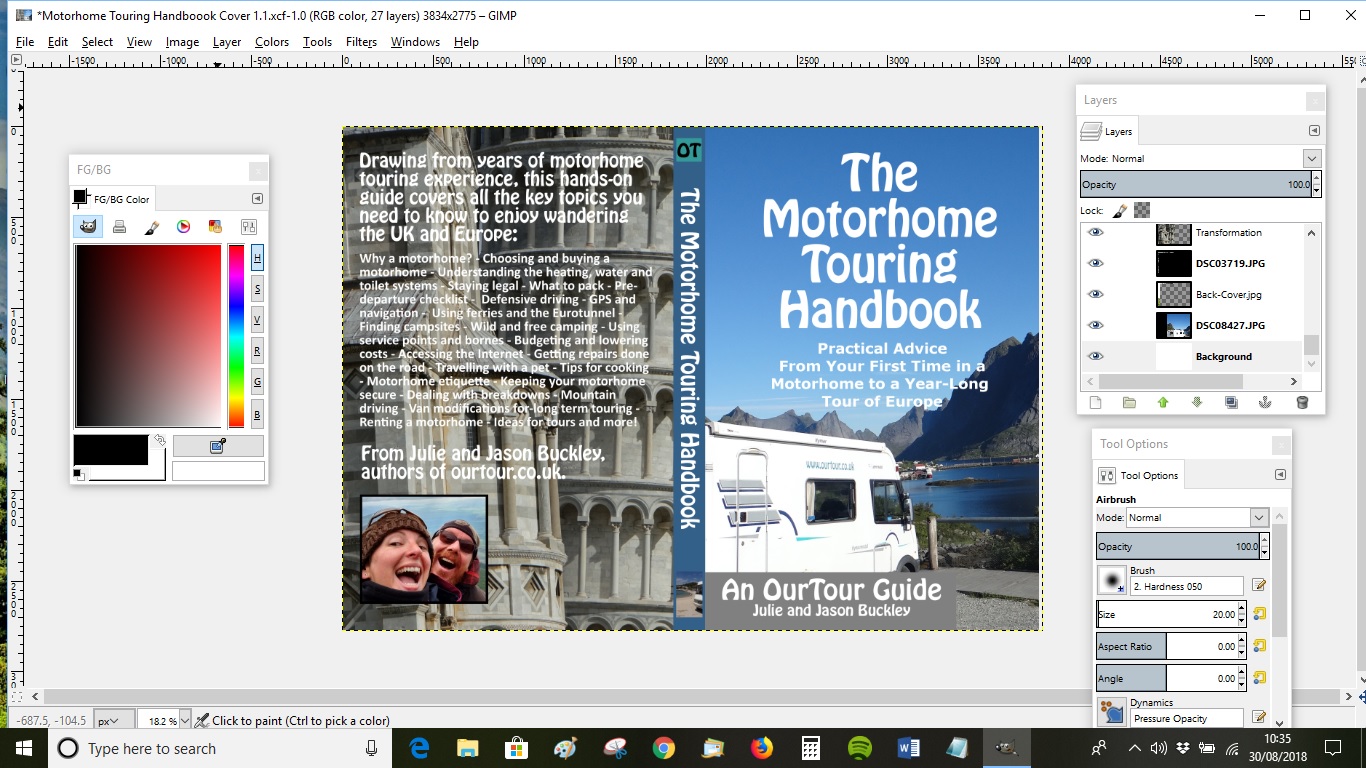
Creating a Cover Image in Gimp
You can use the cover builder tool in KDP to create your image, you don’t need to use Gimp (or Photoshop or other image editors). The reason we used Gimp is to enable us to have more control over where text and images are placed. Here are a few tips on cover images:
- Gimp is powerful, and free (download it here), but isn’t the easiest tool to use. For example, you need to highlight the correct layer, and then select the ‘Move’ tool to move text or an image on that layer. More often than not you’ll move the wrong part of the image or text… It was a bit frustrating for us at first!
- To work out the overall size of the cover image, and how big the front and back covers and spine should be, use the cover size tool available through KDP. Do this when you know how many pages your final book will be, as the spine size will change otherwise.
- Leave space on the rear cover for the barcode, which KDP automatically adds to the bottom right. The ISBN is allocated to you by KDP too, there is no need to buy one.
Selling Books through KDP
Once your book is live on KDP, apart from promoting it you don’t need to do anything! Amazon will make your book available on their various websites, and people will be able to order the book and pay Amazon for it. Amazon will print the books as they are ordered and ship them for you, or send the book to the buyer’s Kindle. Later on you’ll be able to see reviews on Amazon, to get feedback on your work.
You’ll be able to use the KDP dashboard to see how many books have been bought, and how much royalty is due to you. Amazon will pay out your royalties on a monthly basis direct to your bank account. Remember you’ll need to declare the income to the tax man – we complete personal tax returns each year and include our book sales revenue on them.
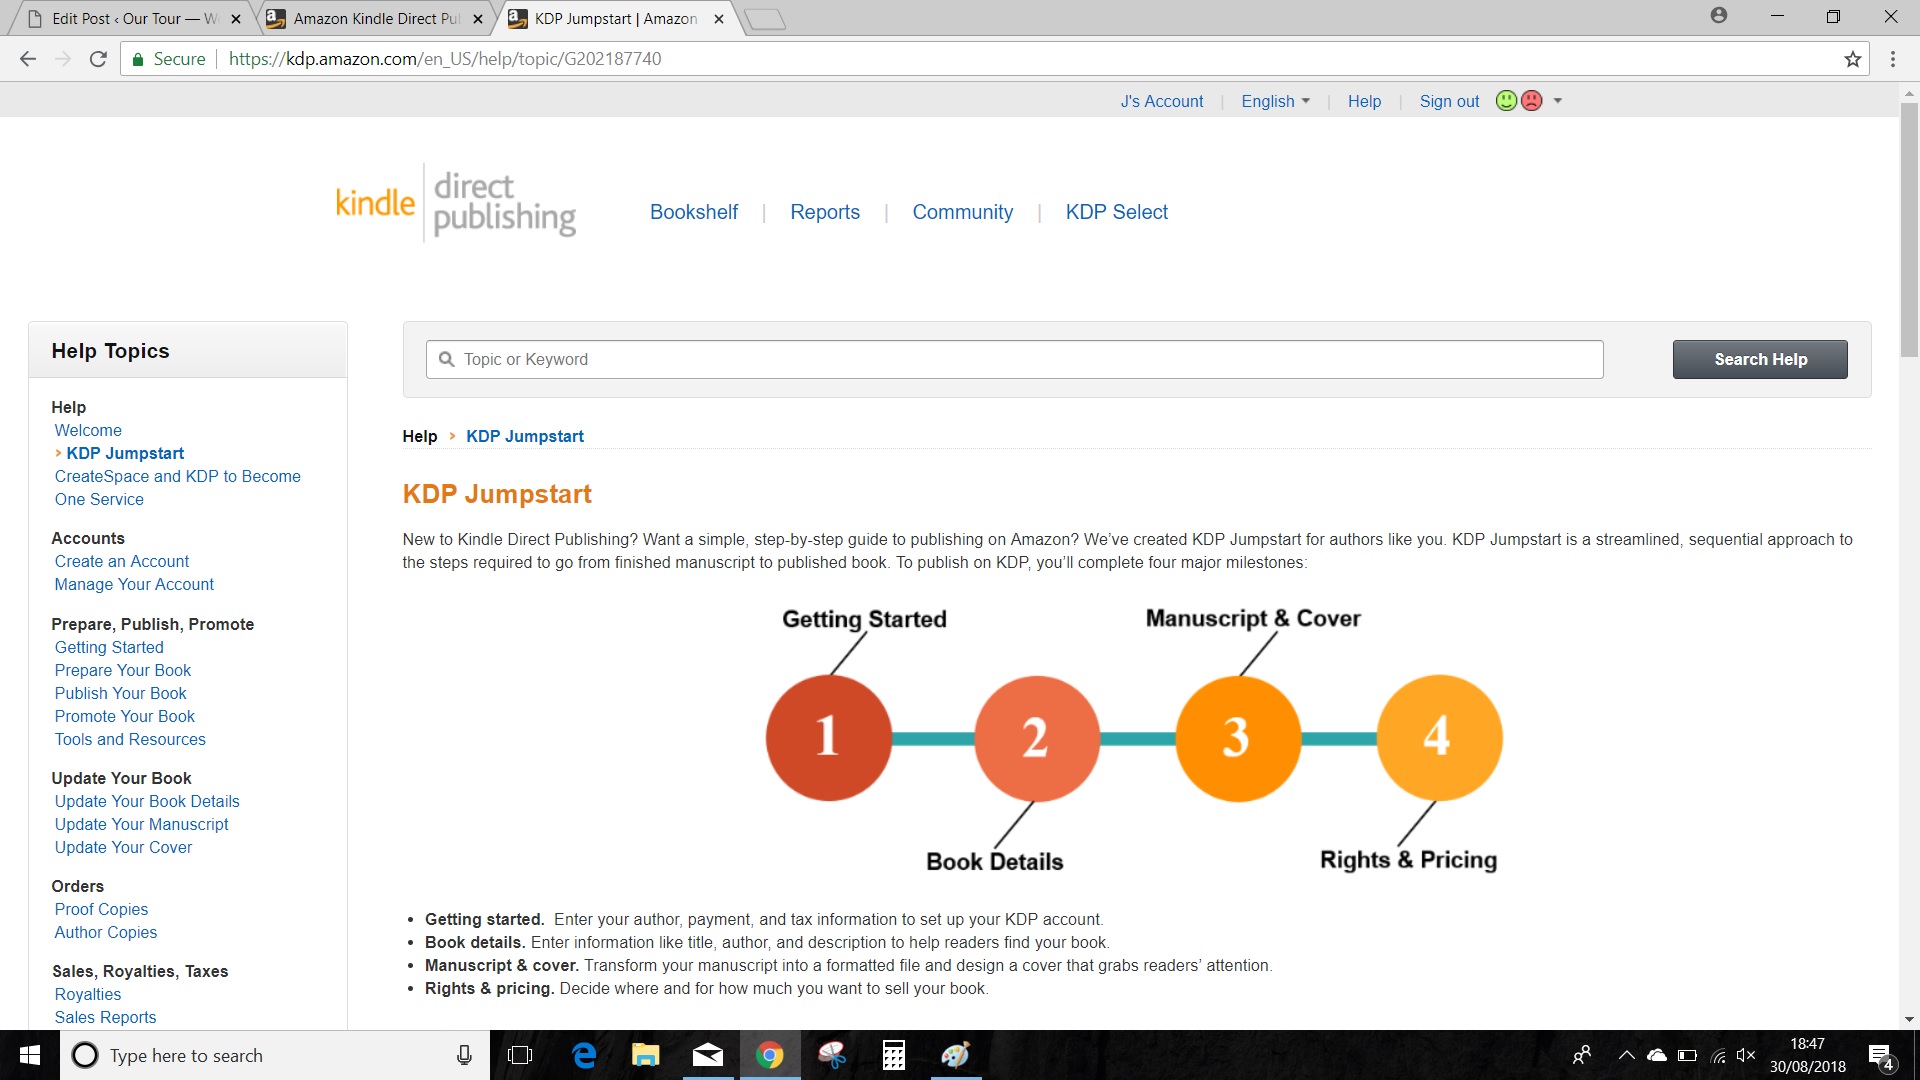
Getting More Information
For more detailed information on setting up a KDP account and publishing a book, have a look at Amazon’s JumpStart.
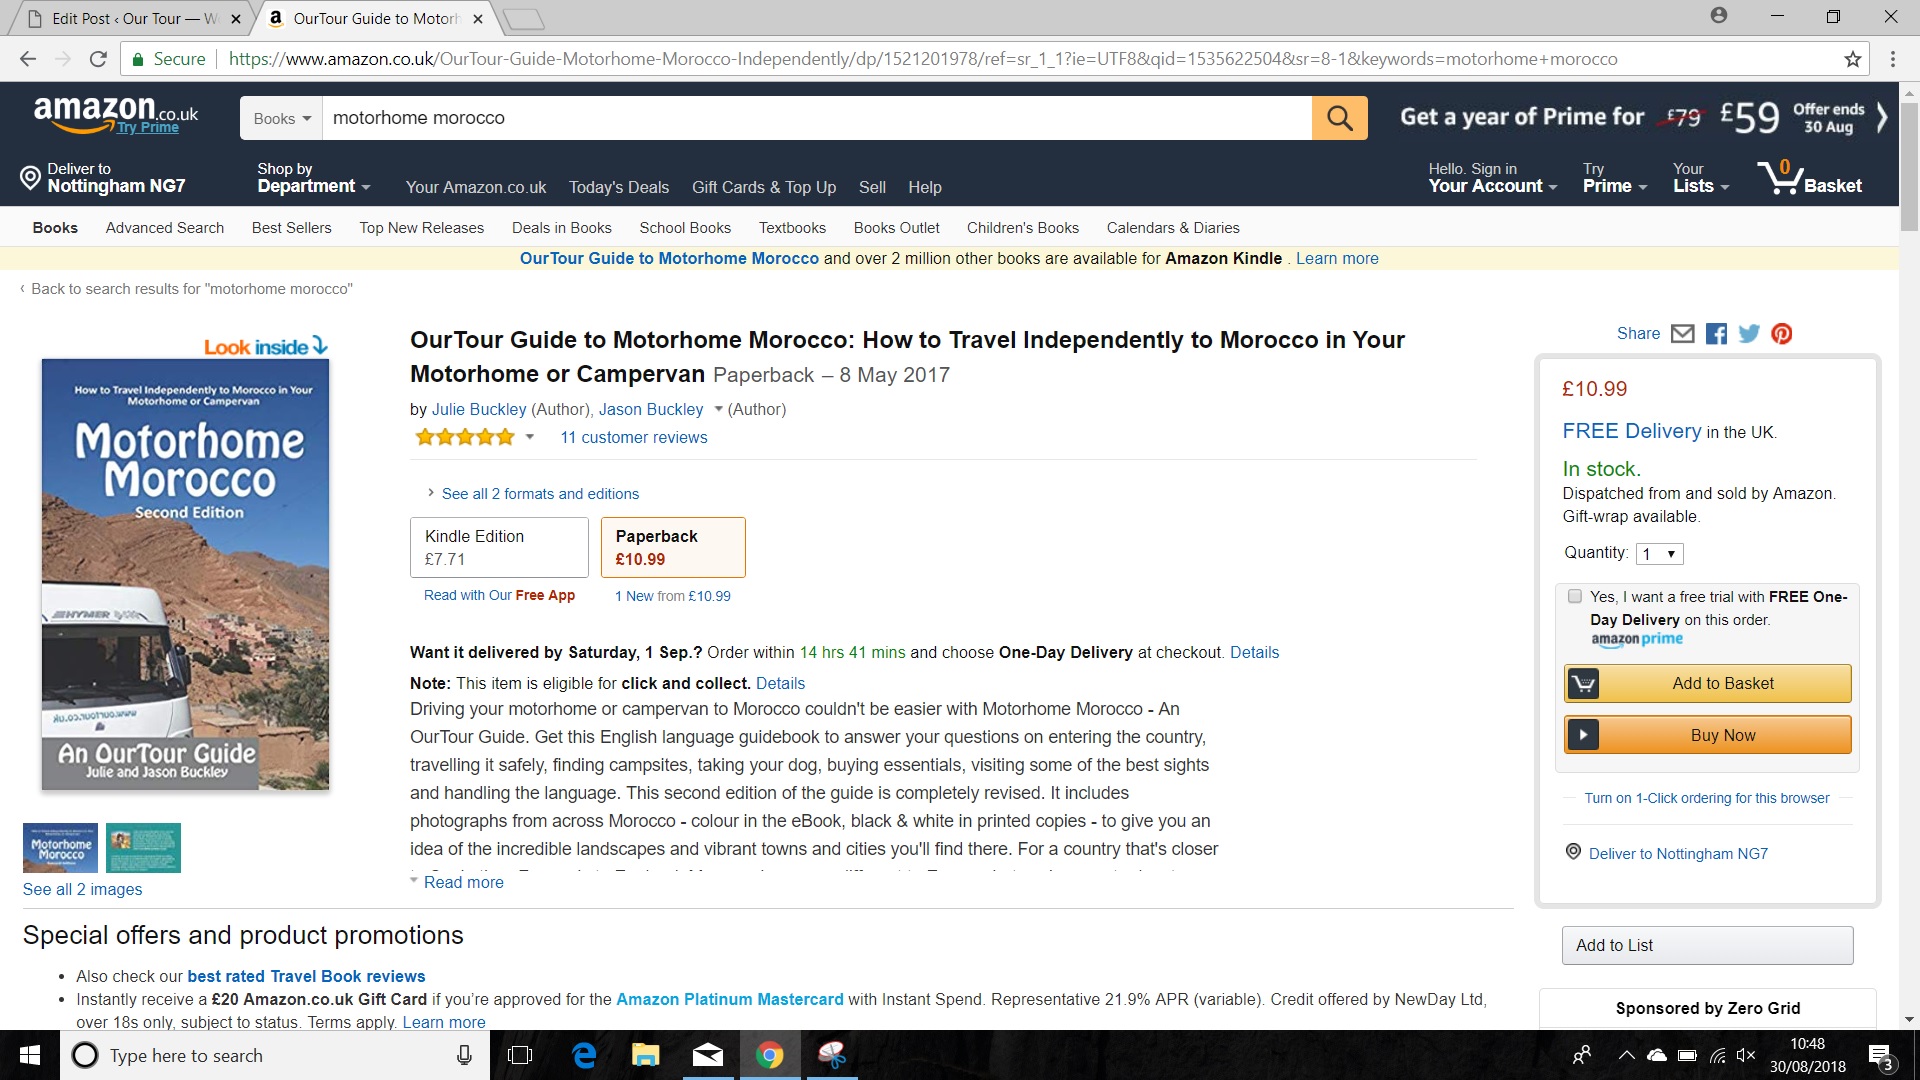
Our Books on Amazon
And finally, here are all of our books available on Amazon.
Cheers, Jay


Great info, thanks. Have been toying with the idea of doing something so maybe this will be the kick in the pants I need!
Do it guys – you’ve such a hugely inspirational story. Cheers, Jay
Hello
Great to see you achieving this ! My husband has self published several books himself with amazon, googlebooks, apple ibooks, kobo, barns and noble,… if you need tips or ideas to expand your publishing kingdom, please feel free to send us messages, he will be happy to help 😄
Hi
Some great tips there – your new book sound good. I have only ever published a Kindle book, but am looking at producing a printed one so could I ask a question.
When you write your book in word for a printed version, do you set the pages up in Word as “Book Fold” or do you just write the book out normally and then the Amazon/Kindle software takes care of the layout so the pages print in the correct order?
David
Hi David, just use standard pages in Word, but use odd/even page headers and footers if you want page numbers on the outer edges. KDP lets you upload a draft manuscript and preview it as a book, so you can experiment with layouts too. Cheers, Jay
Thanks for the info Jay, very useful.
Cheers
David