
Replacing the Electric Step Switch on a Hymer Motorhome
Our motorhome’s habitation door electric step developed a fault and was refusing to go back up. We fixed it by replacing the switch, which proved an easy (if not cheap) DIY job. This post relates to a 2001 Hymer B544 motorhome.

Our step would go down fine, but wouldn’t go back up unless we managed to press the switch really hard and in just the right way. It might take 3 or 4 goes with the switch before we could get the step back up, giving us a minor panic when we needed to move the van! We were fairly confident there was nothing wrong with the motor or step itself, the switch appeared to be the culprit.
We sourced a new switch from Brownhill Motorhome Parts on ebay. It cost £132, which is obviously not cheap. Roughly similar-looking switches could be had from eBay for £15. The switch has some integrated electronics though, and I wasn’t sure if the cheaper switch would (a) physically fit, (b) have the right electrical connections on the back and (c) actually work with our step.

So we decided to splash the cash, reasoning we were saving money and time by doing the job ourselves. Plus we were grateful OEM parts are still available for a 24 year old vehicle.

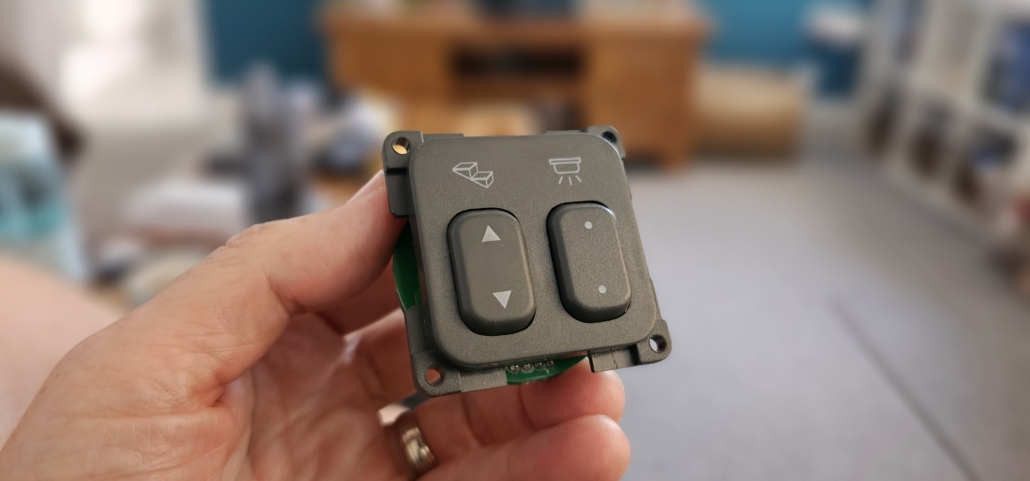
Swapping the switch was simple. The outer plastic trim just pulled away by hand, no need for any tools. The old switch was secured with four screws, which were easy to remove.


I pulled the old switch forwards and unplugged the two connectors, keeping a good hold of them so they didn’t disappear into the cupboard. I connected them to the new switch, secured it with the screws and pushed the plastic surround on. I probably should have turned off the van’s 12V but forgot. The switch and step now work perfectly, and we’re really pleased with the result.
Cheers, Jay
Thanks for reading folks! For all our best tips and tricks:


Leave a Reply
Want to join the discussion?Feel free to contribute!