
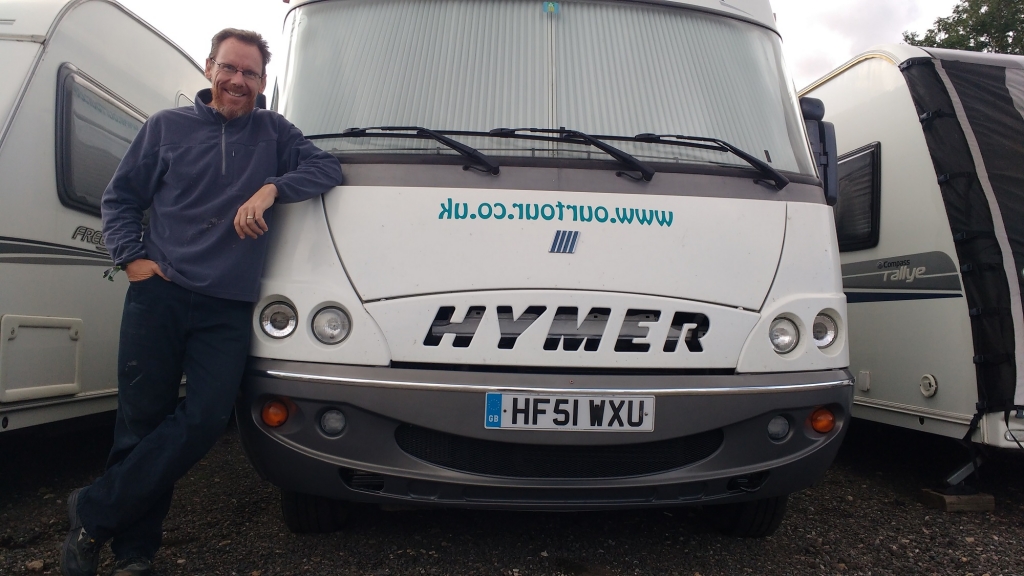
DIY Repair and Respray of a Hymer Motorhome Bumper
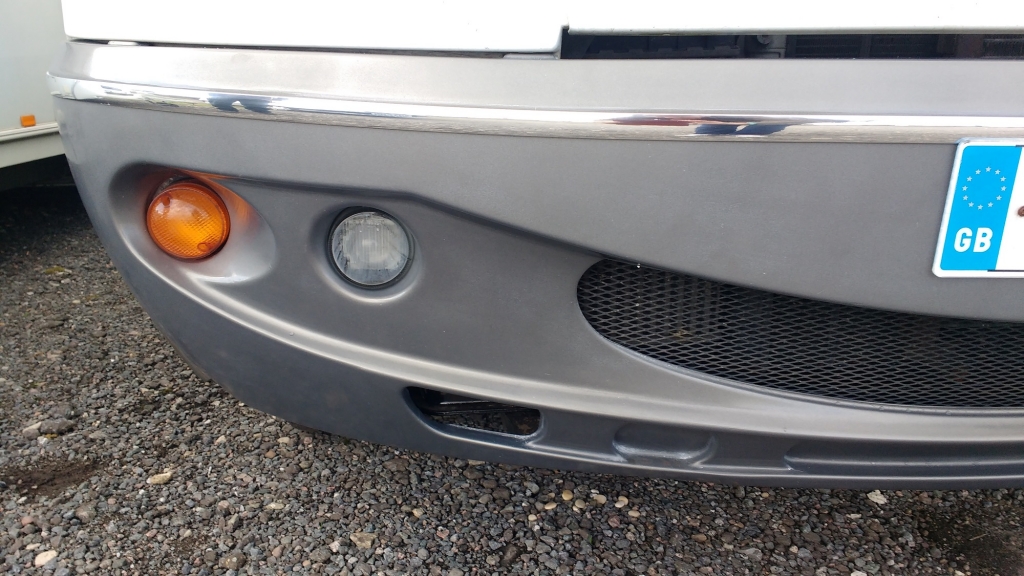
The front bumper on our 2001 Hymer B544 has had a hard life folks. Like lots of fellow Hymer motorhomes of this vintage, small stone chips had lifted the lacquer over the years, exposing the paint underneath to the elements. This resulted in large areas of it bubbling up and flaking off. Unlike lots of similar motorhomes though, ours had a four inch crack in it when we bought the van, and we’ve managed to inflict some additional serious cracks on it too. This was mostly as a result of our front springs being too soft, which lowered the front of the van and meant it could catch on our ramps when we reversed off them on soft surfaces: CRRAAACCCKKKKK!!! Ouch, pass the gaffa tape, again… We’ve since sourced heavy duty front springs and our local garage installed them a while back, which solved that problem, leaving me with no excuse but to get the bumper fixed!


Checking around on the usual motorhome forums, the cost for a repair and respray, assuming I removed and refitted the bumper myself, was looking at between £300 and £600. I was seriously tempted to hand the thing over to a local repair shop but hey, I’ve got time on my hands and have done some car paint repairs in the past. Those repairs were quite poor but I learned a few things since, like the need to sand the paint, so I did the job myself. It ended up being a fair bit of work, but I enjoyed the project. The result, although definitely not as good as a professional repair, isn’t bad either especially considering the rest of the van’s paint is still 18 years old. The total cost was around £170 for all of the materials. These are the steps I took to complete the repair – please note I’m most definitely an amateur at this stuff – you might want to consult a professional before following these steps!
Stuff Needed
This is all of the stuff I needed to complete the repair, along with some basic tools (drill, screwdrivers and spanners):
- Plastic Primer – 2 cans from Halfords
- Colour-Matched Paint – 3 cans made up by local paint shop
- Pro XL Clear Coat Lacquer – 2 cans from local paint shop
- Rubbing Compound from Halfords
- Foam Sanding Block from Halfords
- Sandpaper – Various grades of wet and dry from Halfords
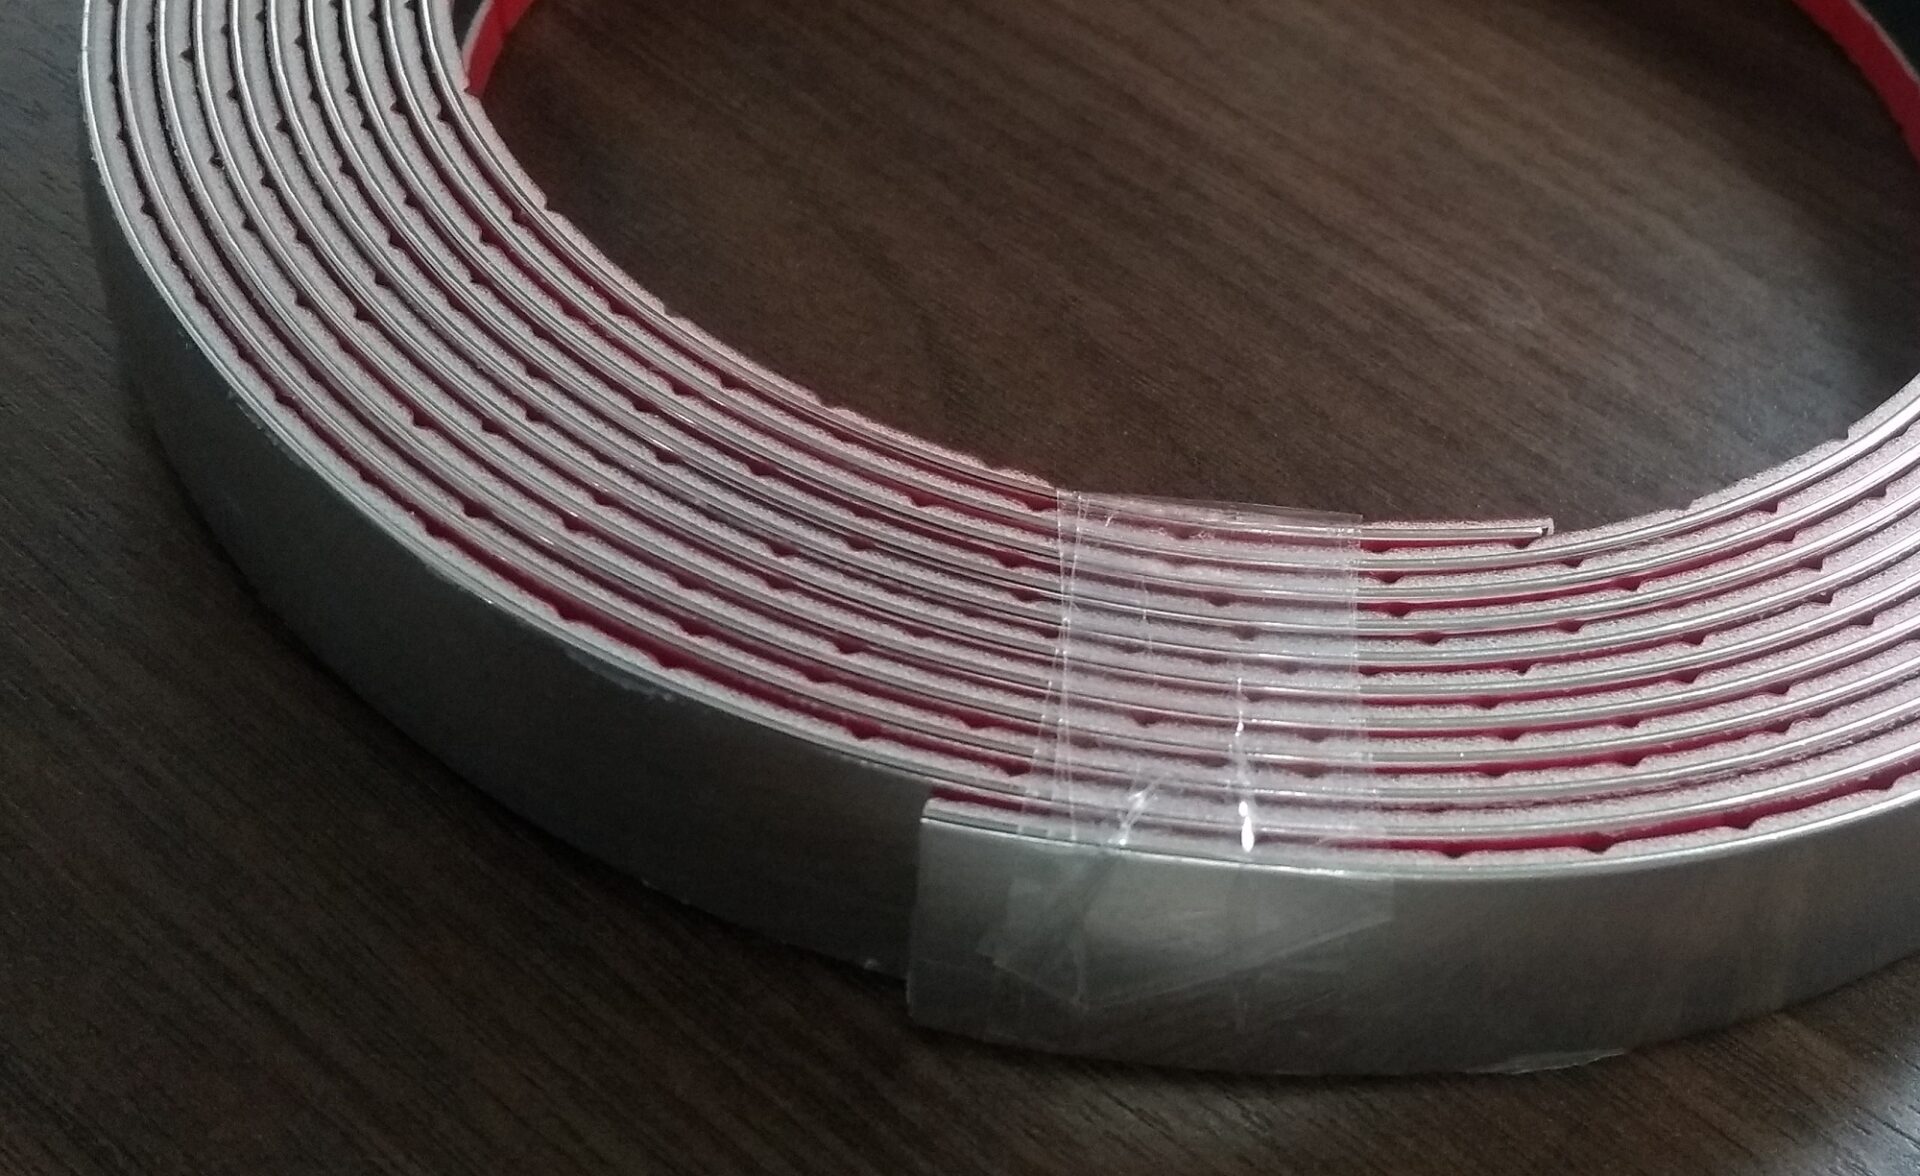
- Replacement Silver Trim from eBay
- Craft Knives from Wilkos
- Spray-On Wax from Wilkos
- Cellulose Thinners from the local hardware shop
- Protective Face Mask and Gloves
- Water Sprayer
- Rags and Paper Towels (I should have bought some Tack Cloths but made do without)
- Old Towels – for laying under the bumper while working on it
I also needed this stuff as I had to fix several large cracks; you wouldn’t need this if you just needed to respray the bumper:
- Plastic Filler Kit from Halfords
- Fibre Glass Repair Kit from Halfords
- Araldite Glue from Halfords
- Aluminium Mesh from Halfords
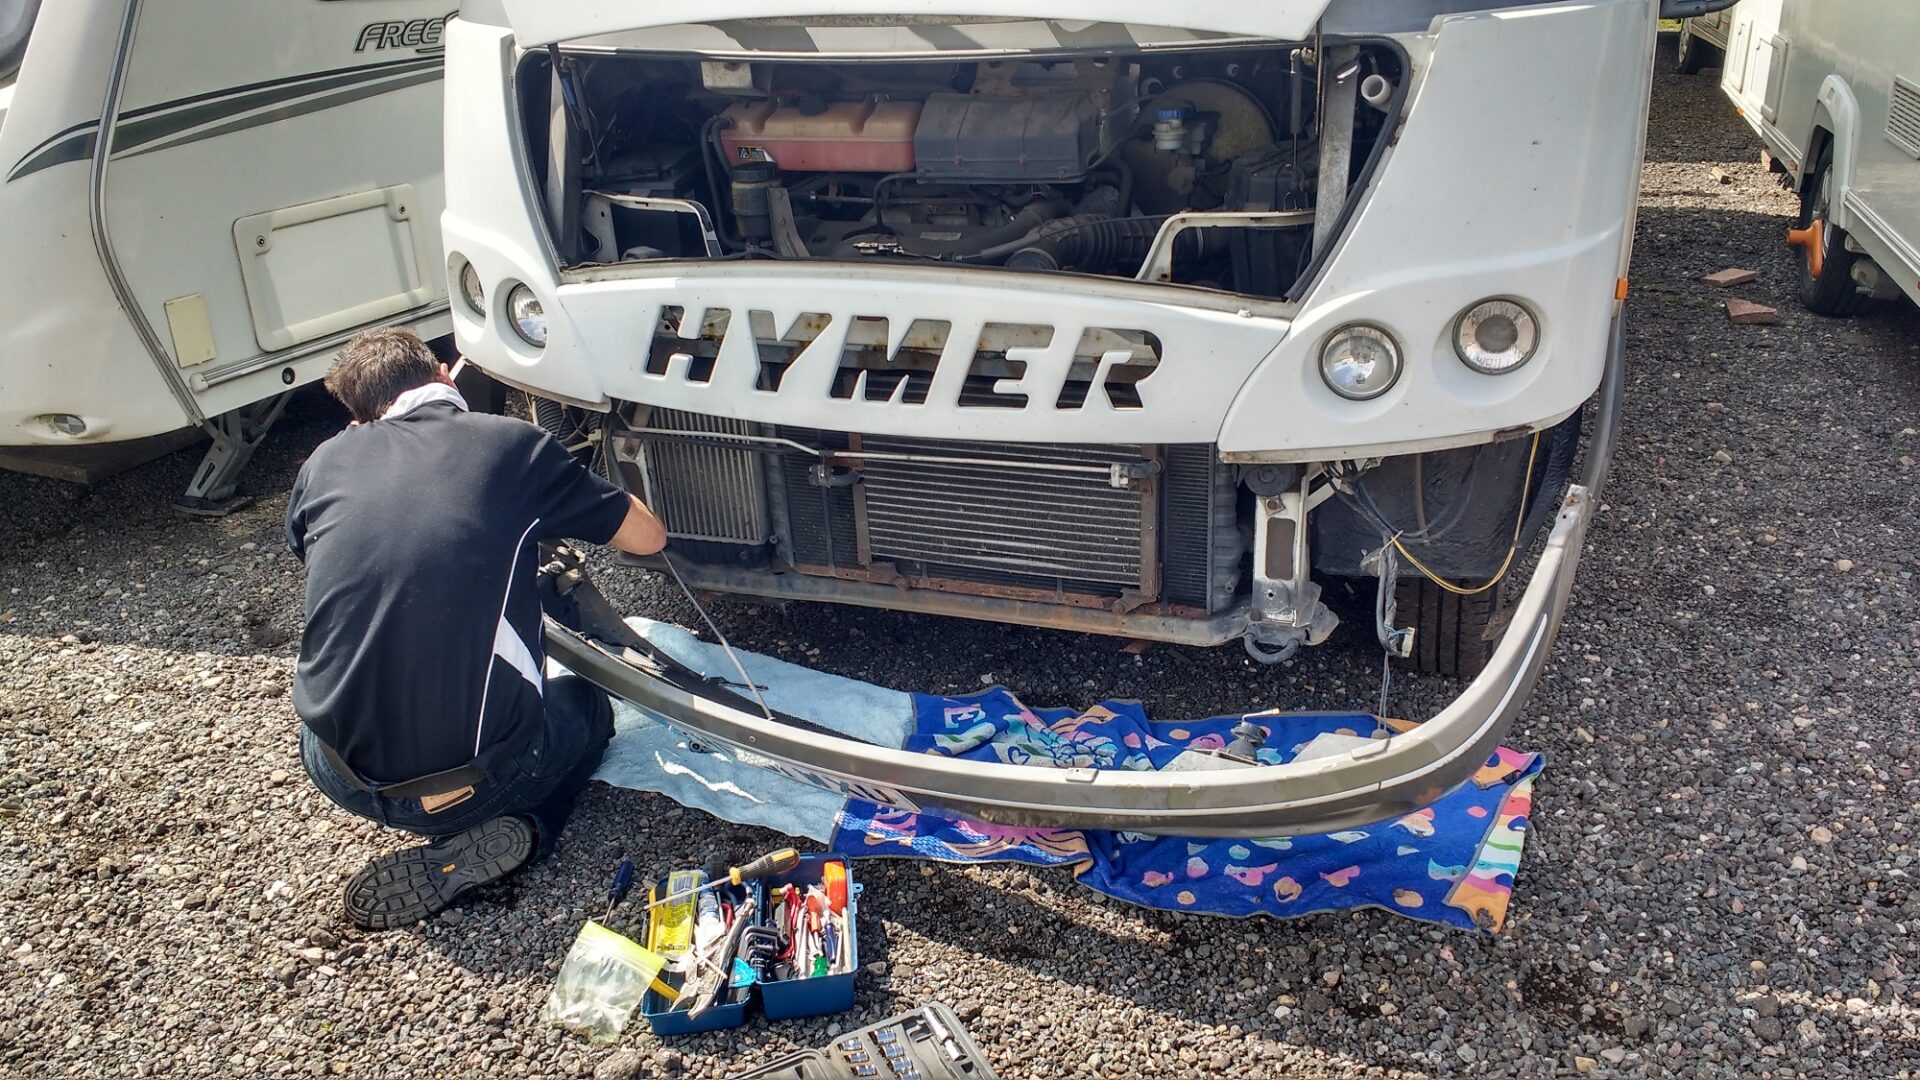
Step 1: Remove Bumper from Motorhome
The bumper was easier to remove than I expected. There were a couple of screws in the top, accessible by opening the bonnet and two under each wheel arch, accessible from below. Two bolts held the bumper to brackets underneath the van. The plastic where one of these was mounted to the bumper broke when I undid the nut, even though I’d sprayed them with WD40, and I had to repair it later on using aluminium mesh and fibre glass. Two more screws held the bumper from each side, accessible by lifting the trim from the wheel arches (it was a warm day so didn’t need heating up).


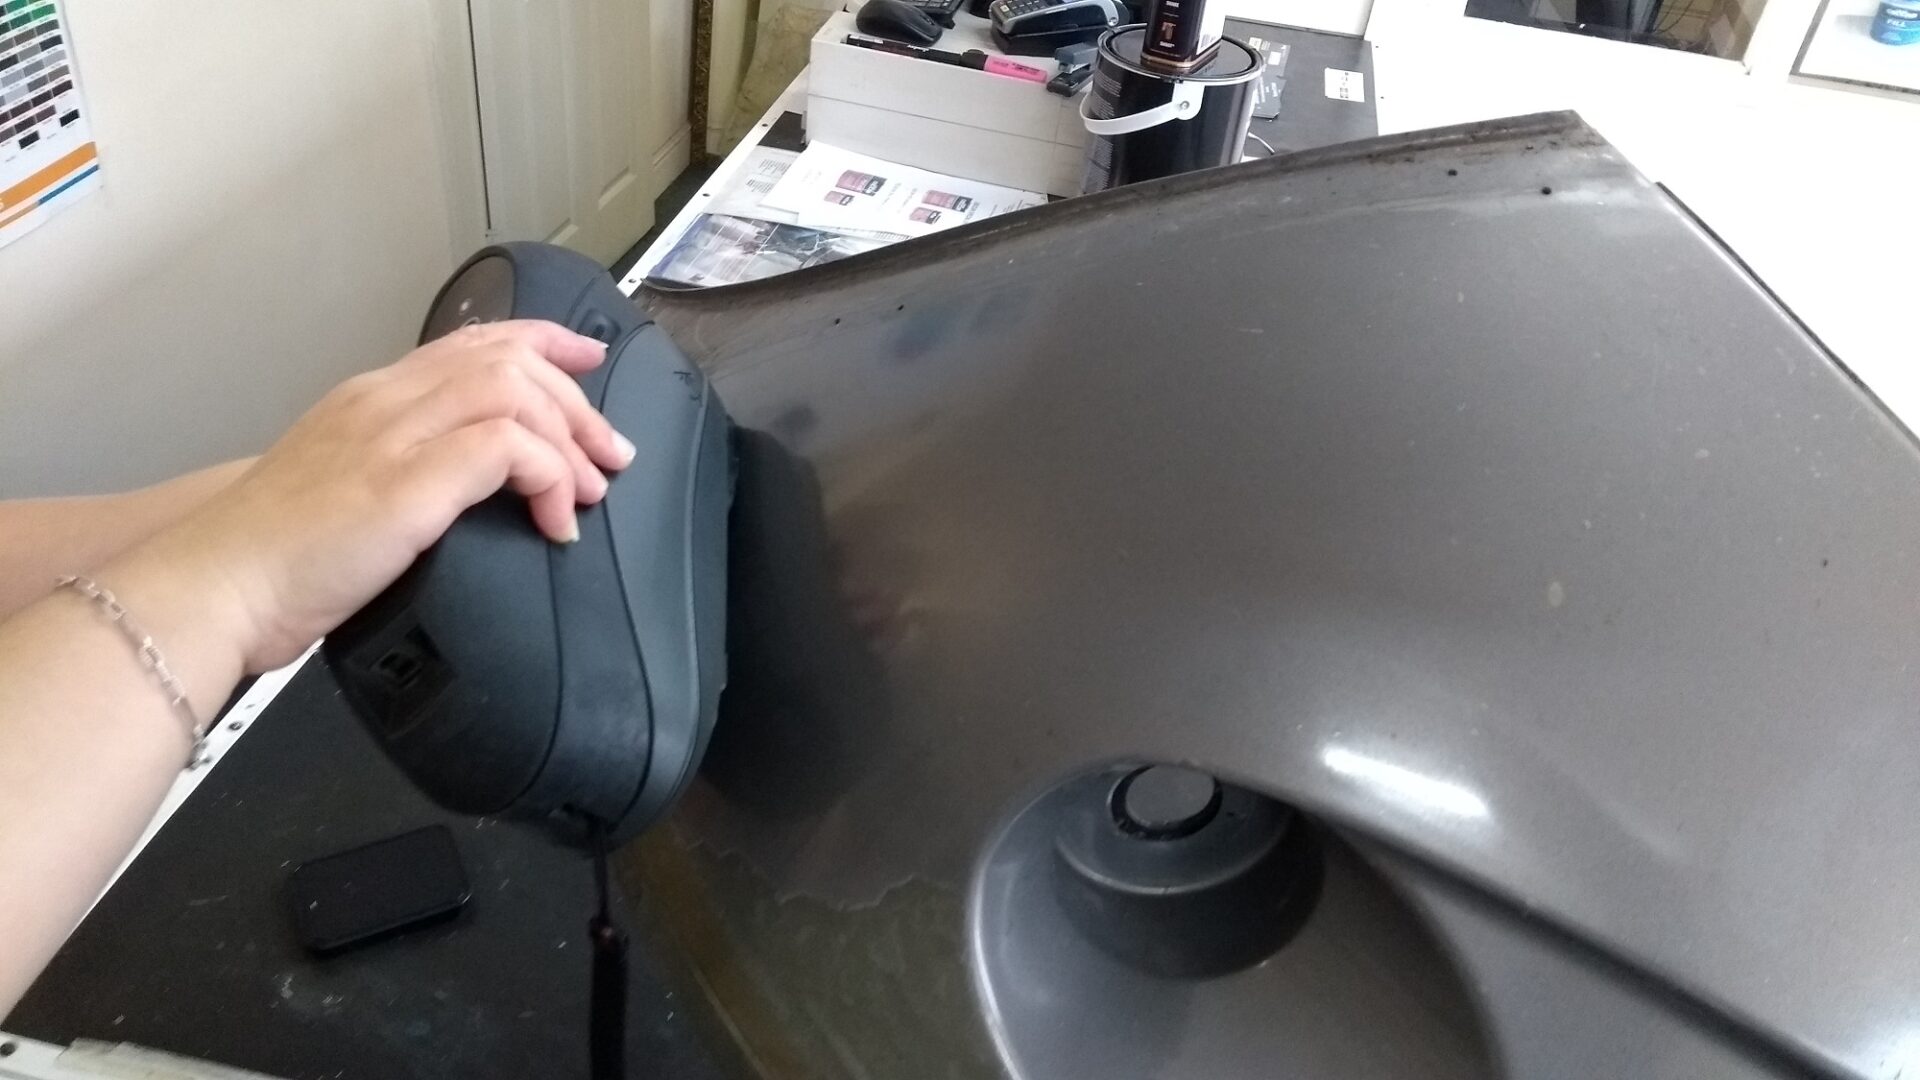
Ju took photos of the cables and connectors to the lights before I disconnected them (the block connectors were a bit awkward). An alarm LED has been fitted to the bumper and I had to cut the cable to it as I couldn’t see where it went into the loom, I re-attached it later using a couple of blocks from a terminal strip. The bumper wasn’t light, but not too heavy either and I carried it a mile home from the storage yard without much difficulty. At home I removed the lights, the grille and number plate from the bumper.
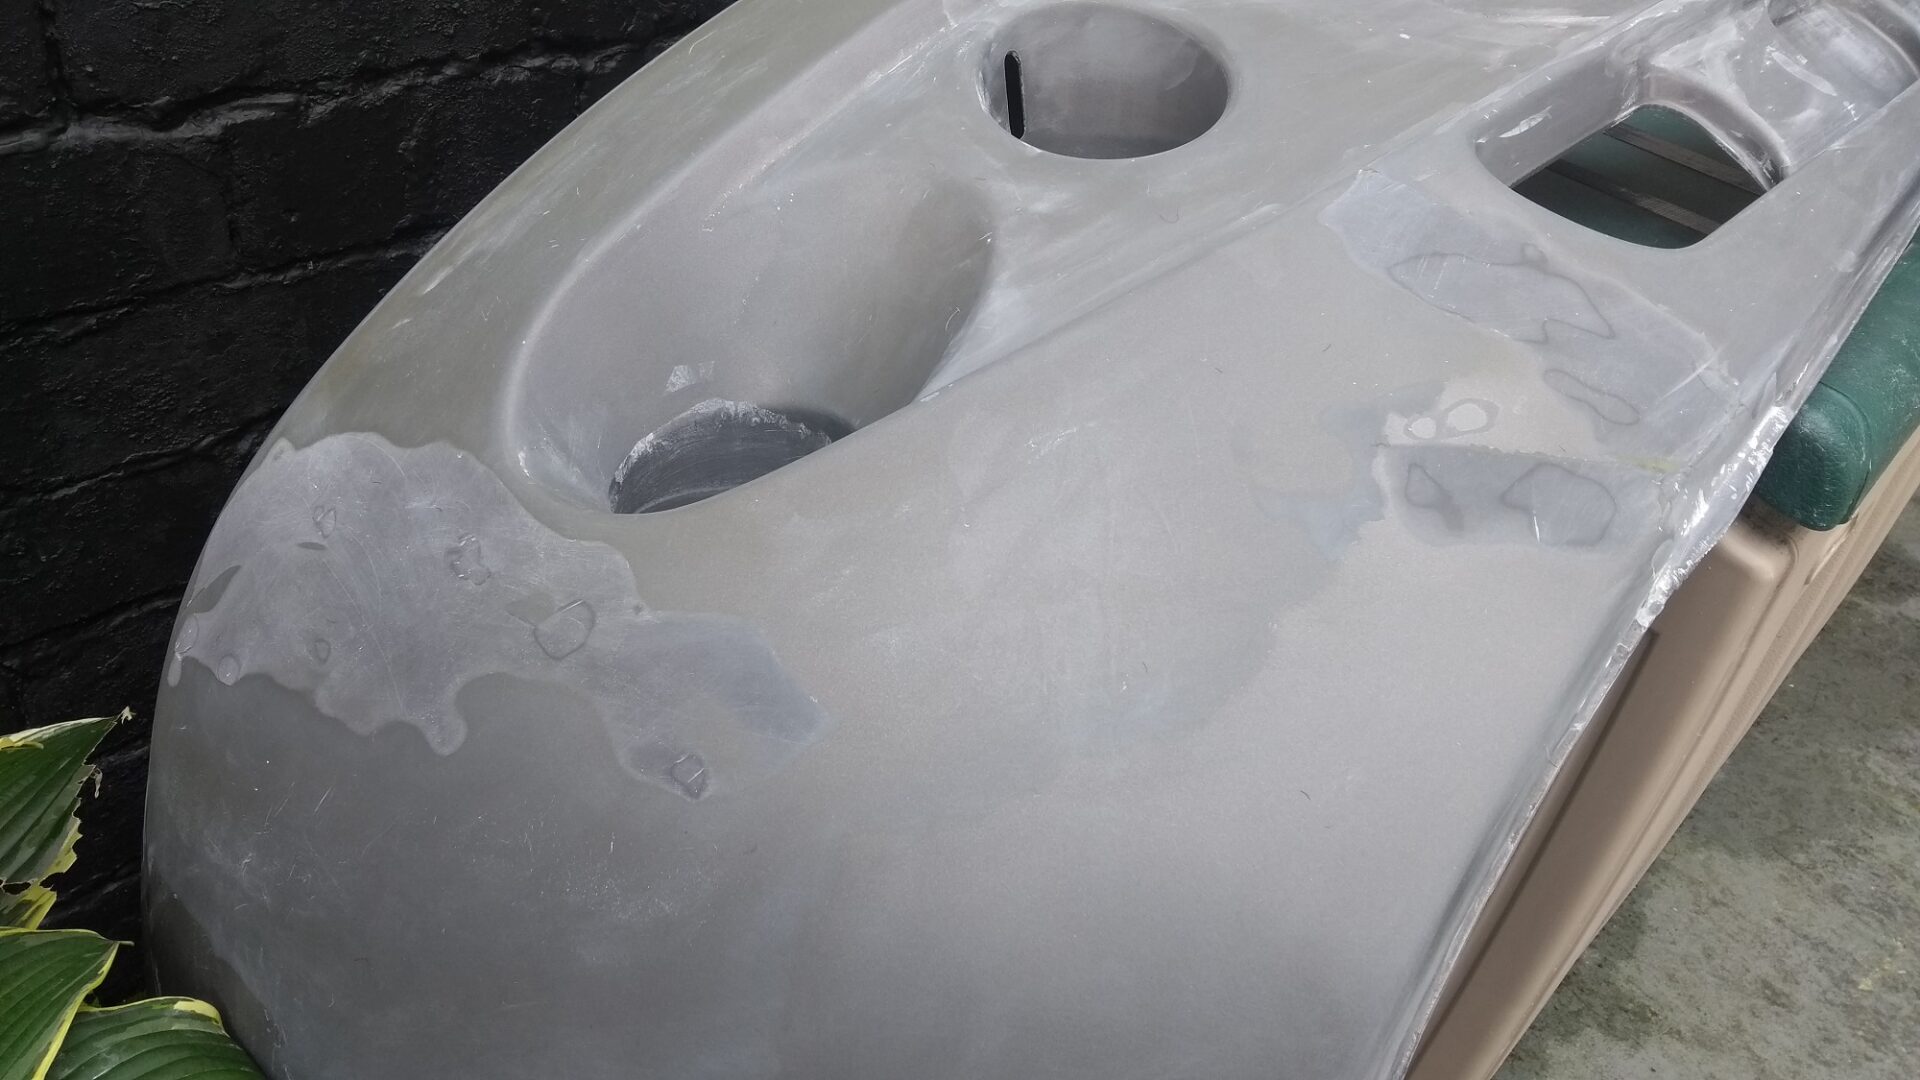
Step 2: Remove Old Lacquer and Paint from Bumper
I used craft knives to remove the silver trim (which has a sort of soft glue behind it), and cut away as much of the paint as I could from the bumper. Almost all of it came off, except for the area under the number plate, the areas which had been under the wheel arch covers, the paint on a downward-facing section below the ‘forehead’ of the bumper, and some of the paint in the complex shaped lower part of the bumper. Where I couldn’t remove the paint I used rough sandpaper to ‘feather’ the edges of the paint, so there wasn’t a step down to the plastic, then 400 grade paper to sand out the scratches. It took quite a few hours to complete this step, but I enjoyed it and Ju joined in for a bit as she’d been dying to piggle off the paint for years!

Oh, nearly forgot. Before removing all of the paint we took it to a local paint shop who used a spectrometer to get as close a match as they could. They then made up three cans of paint for us which we could use without a spray gun and compressor. I should say the lady at the shop was at pains to say the paint might not be a perfect colour match, but as we were painting the whole bumper we were OK with that. She gave us a swatch which we held against the bumper and it looked like a good match to us.
Step 3: Fix Cracks in Bumper
The cracks were all the way through the front of the plastic but when I removed the bumper I found it has a ‘second skin’ behind it which gives it strength. This is glued to the front part of the bumper but fortunately I could just about get access to the cracked areas from the rear without removing it. I used Araldite glue to get the loose bits of plastic into roughly the right place and once it was completely hard, roughed it up (with sandpaper) and cleaned the areas behind the cracks. I then used fibre glass to support the cracked areas from the rear and allowed it to completely harden over 24 hours.
I then rubbed down the front areas of the bumper around the cracks and filled them with plastic filler. Like the fibre glass and Araldite, this comes in a two-part pack which has to be mixed together so it will go hard. I was careful not to apply too much filler, as I knew from past experience it’s a right job to sand down and almost all of the filler has to come off. Once it had hardened, I sanded it down with 600 grade paper to get a smooth surface. In a couple of places I had to refill the cracks with a little more filler, let it go off and sand down again. I find it very hard to get a perfect surface using filler and at the end of the job you can see where the filled sections are, but only just.
Step 4: Prepare Bumper for Respray
Next up I rubbed down the whole bumper with 600 grade sandpaper to get a clean, slightly roughed surface for the primer to adhere to. I then cleaned it with cellulose thinners and paper towels and checked for any bits of fluff stuck to it.
Step 5: Paint Bumper with Primer
With the bumper on a garden storage box covered in old towels, I applied 6 or 7 thin coats of plastic primer, waiting 15 minutes between coats. I did all of the painting in an enclosed yard so had good ventilation but not much wind, and only painted on warm, dry days. After leaving the bumper to dry overnight, I used 600 grade wet sandpaper (soaked in water for a few minutes) to smooth off the top layer of paint, using the water sprayer to keep the surface of the bumper wet while I lightly sanded it, checking for any rough patches.
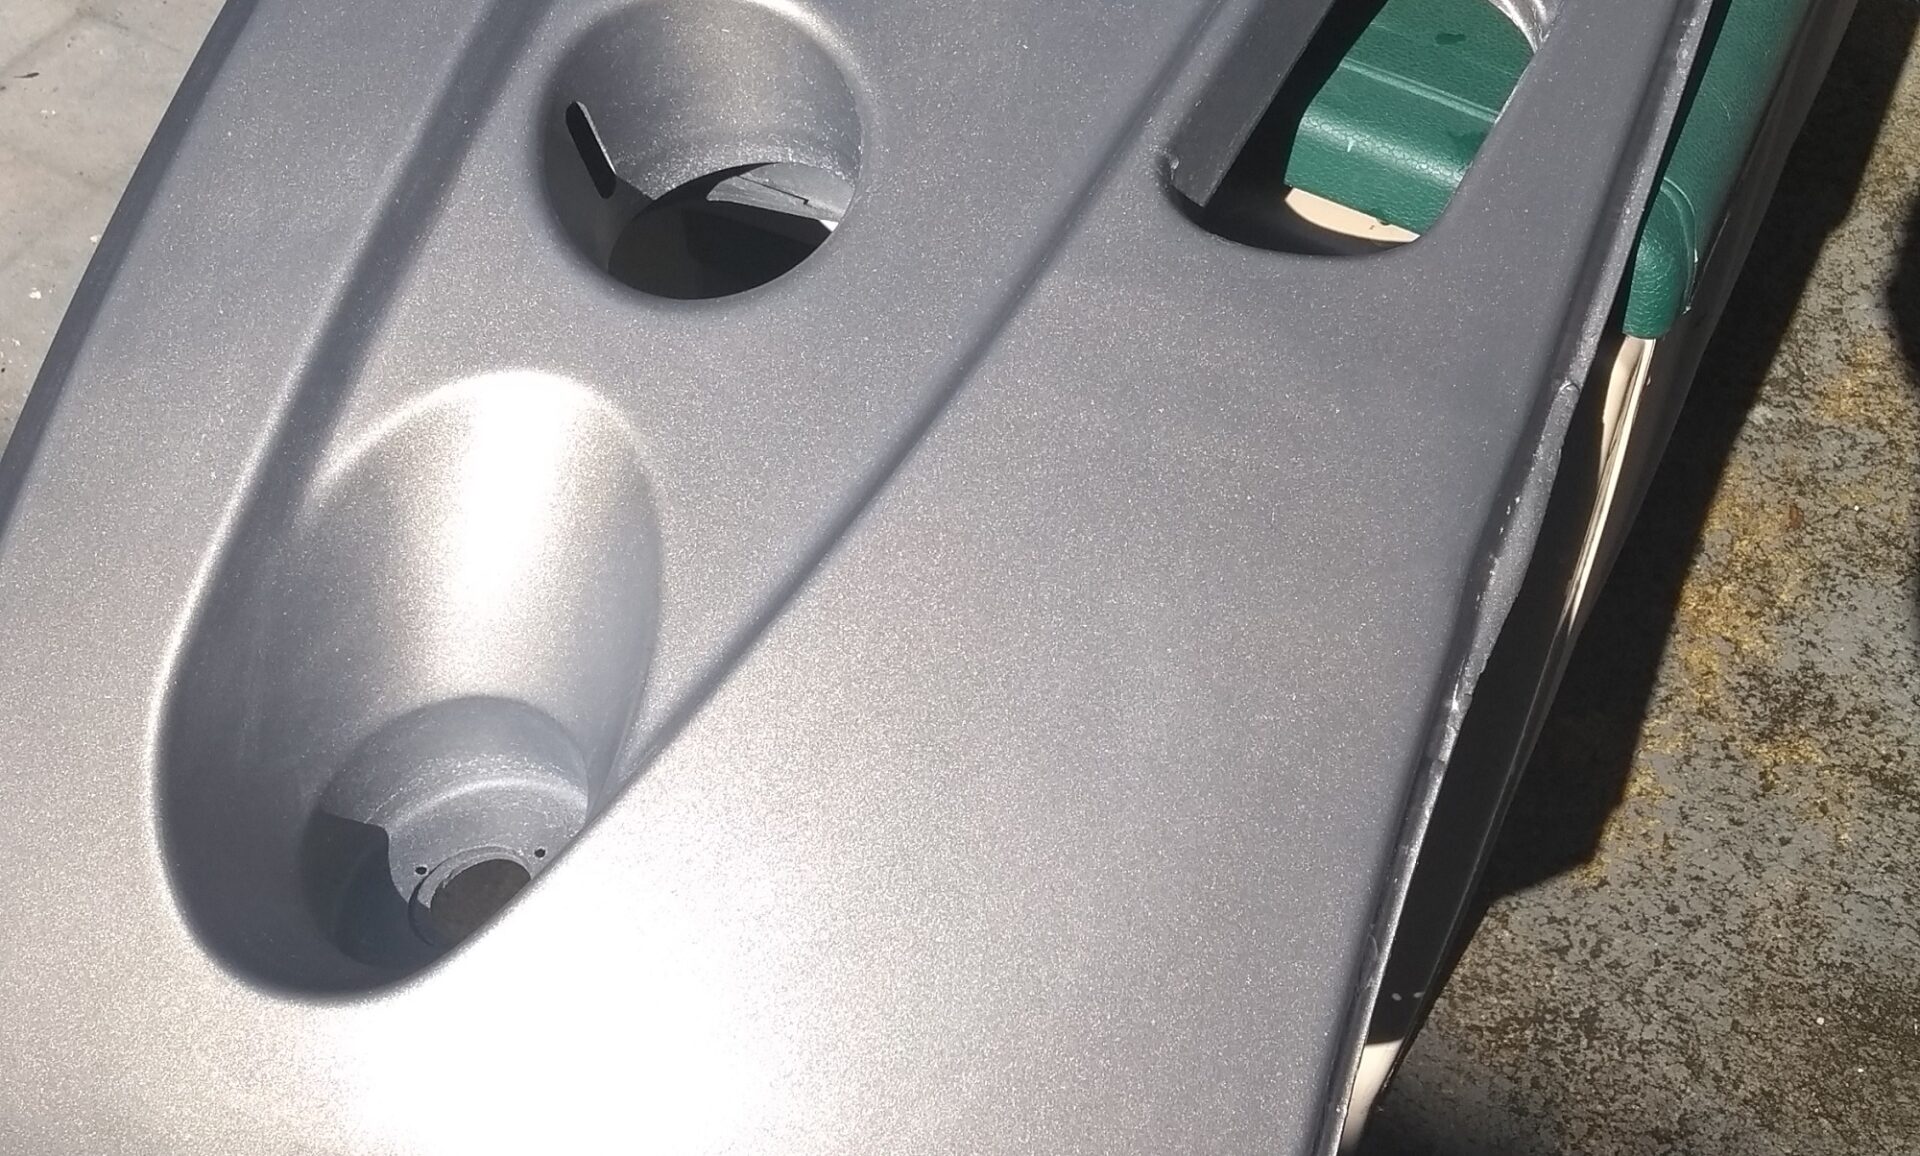
Step 6: Paint Bumper with Colour-Matched Metallic Paint
After allowing the bumper to dry, I used some paper towels to remove the residue from the bumper (tack cloths would have been a better option, but I didn’t have any). This revealed a few sections which were still a little rough, so I repeated the wet sanding-cleaning process on them. Once the bumper was clean and dry, I applied about 8 thin coats of paint, waiting for 10 minutes between each coat. The colour built up slowly, and I was a bit disappointed to see that some areas where I’d not been able to remove the original paint were a slightly different colour. At the end of the job with the bumper re-fitted, this is hardly visible.
Step 7: Cover Paint with Clear Lacquer
Once the paint was dry, I used 800 then 1000 grade wet sandpaper to get a smooth surface again, again using the water sprayer to keep the paint wet. Once it was smooth, cleaned and dry, I used the Pro XL Clear Coat to apply maybe 8 coats of lacquer to the bumper, waiting a few minutes between coats. During all of the painting stages I made sure I moved around the bumper to get paint and lacquer reasonably evenly on all of the surfaces.
Step 8: Sand, Rub Down and Wax Bumper
When the lacquer was dry I found it was quite a rough, dull surface. I had read on the Pro XL cans that the lacquer can be machine-polished after 24 hours, so I should have known it wouldn’t be perfect and shiny out of the can! I let the lacquer harden for 3 days and then sanded it smooth with 1200 grade wet paper, again wetting the surface. The next stage is to use rubbing compound to get a polished surface, which ideally needs a mains-powered polisher. I opted to go for it and rub it down by hand, which was hard work and I had to do the bumper twice to get a good shine (and yes, I did curse myself a time or two for not hiring a polisher). Finally I cleaned the bumper up and applied and polished off some spray-on wax.

Step 9: Refit Lights, Fit Bumper and Replace Trim
Using the old silver trim as a template, I used a craft knife to cut out a replacement piece from the new stuff. After the lacquer had been hardening for 5 days (I’ve no idea if you need to wait this long) Ju and I re-attached the new trim, carefully pulling away the self-adhesive tape backing while holding the trim in place. I then re-attached the number plate and we drove up to the van with the bumper in the car. There we re-installed and attached the lights and alarm LED, testing they all worked before re-installing the bumper. It was helpful to have two people to hold the bumper in place while I got the top two screws in place. I had to drill a couple of new pilot holes for two of the other screws, as the old holes had cracked and widened a little too much.
Job done. The paint colour match isn’t perfect and the bumper is a slightly different colour to the wheel arches (it may have been before though and we didn’t notice). It remains to be seen how well the lacquer, crack repairs and paint stand up to use in the coming months and years, but I’m pretty sure I’ve done a reasonable job without cutting any corners. While the bumper was off I also wire-brushed some surface rust from under and above the radiator and used direct-to-rust paint to re-protect the metal. All-in-all it took several days of work and I’m now know that hunk of plastic pretty intimately! The van now looks much better than it used to though, and I’m chuffed I took on the project myself.
Cheers, Jay

Thanks for this you have encouraged me to fix our little “Italian scrape” from two years ago. I’ve never used fibreglass before but you made it look so easy – what could possibly go wrong? :-)
Wish you had posted it six weeks ago though. We’ve been kicking our heels for a couple of months waiting for the MOT and then you posted it the day before we go off to France and Germany for 6 weeks.
Nice work Jason, van looks great 👍
Cheers Alan. ✊
Hi Jason, good job. I have to do something similar, in my case I will use another technique to fix the cracks. I am thinking of using plastic welding. It was useful for me to remove the front bumper. Can you share the paint code you used?
Hi Rocky
Yep, plastic welding sounds like a good idea if you can get at the cracks properly from behind. Good luck, hope it goes well. I **think** we may have taken a photo of the colour code – leave it with me and I’ll pop it here if I come across it.
Cheers, Jay
I also have a hymer with same problem but on back bumper, great instructions might have a go if I can get the bumper off, thanks again.
Good luck Malcolm, cheers, Jay
Hi great job..
Want to do the same..
Both of my spot lights are faulty..
Ie water ingress.
Do you know of any suppliers of these parts..
Many thanks
Trev
Sorry Trevor, we haven’t swapped our lights so I’m not sure. Cheers, Jay
I have been doing this kind of work for a long time and I believe that you are doing yourself a dis-service.
This isn’t easy – by any means and to tackle this on an unprofessional basis is very brave – but your end results are the proof in the pudding !
Well done .
William.
Thanks William – the bumper still looks good a few years later too, happy days. Cheers, Jay
Were the cans of paint you got mixed aerosol?
Yes William. 👍
Good morning! Thanks for sharing the process. I have an Eriba caravan, and have just removed all the plastic parts to restore them. Did your paint shop give you paint in rattle cans, or did you have to use a spray gun and compressor to apply the paint?
I had originally planned to get the parts professionally painted, but seeing your results means I will probably explore doing it myself!
Thanks again!
Hi Paul,
They provided the paint in rattle cans for us – I think we bought around 3 of them from memory.
Cheers, Jason
Many thanks Jason!
Hi Jason.
Thanks for sharing the peocesa. I am currently looking to repaint all 4 wheel arches from my 2000 fiat Hymer. Previous owner paint it orange 🤦♂️.
I’ve taken them to my local shop to try to scan the color from the inside but he was unable to do it.
Do you know the code from the paint? That would save me to take the bumper off.
Thanks
Hi Garcia
We didn’t have a code for the paint, just matched what was scanned. If you look on the Hymer Owners Group on Facebook there are often people asking about paint colours on there, so may be able to help you.
Cheers Julie